In this article, we'll show you how easy it is to leave comments on files. Learn how to make your feedback clear and specific, use annotations to enhance communication, and manage comments with features like pins and to-do lists. Plus, discover how to keep your team in the loop with mentions and private comments.
But first, the basics!
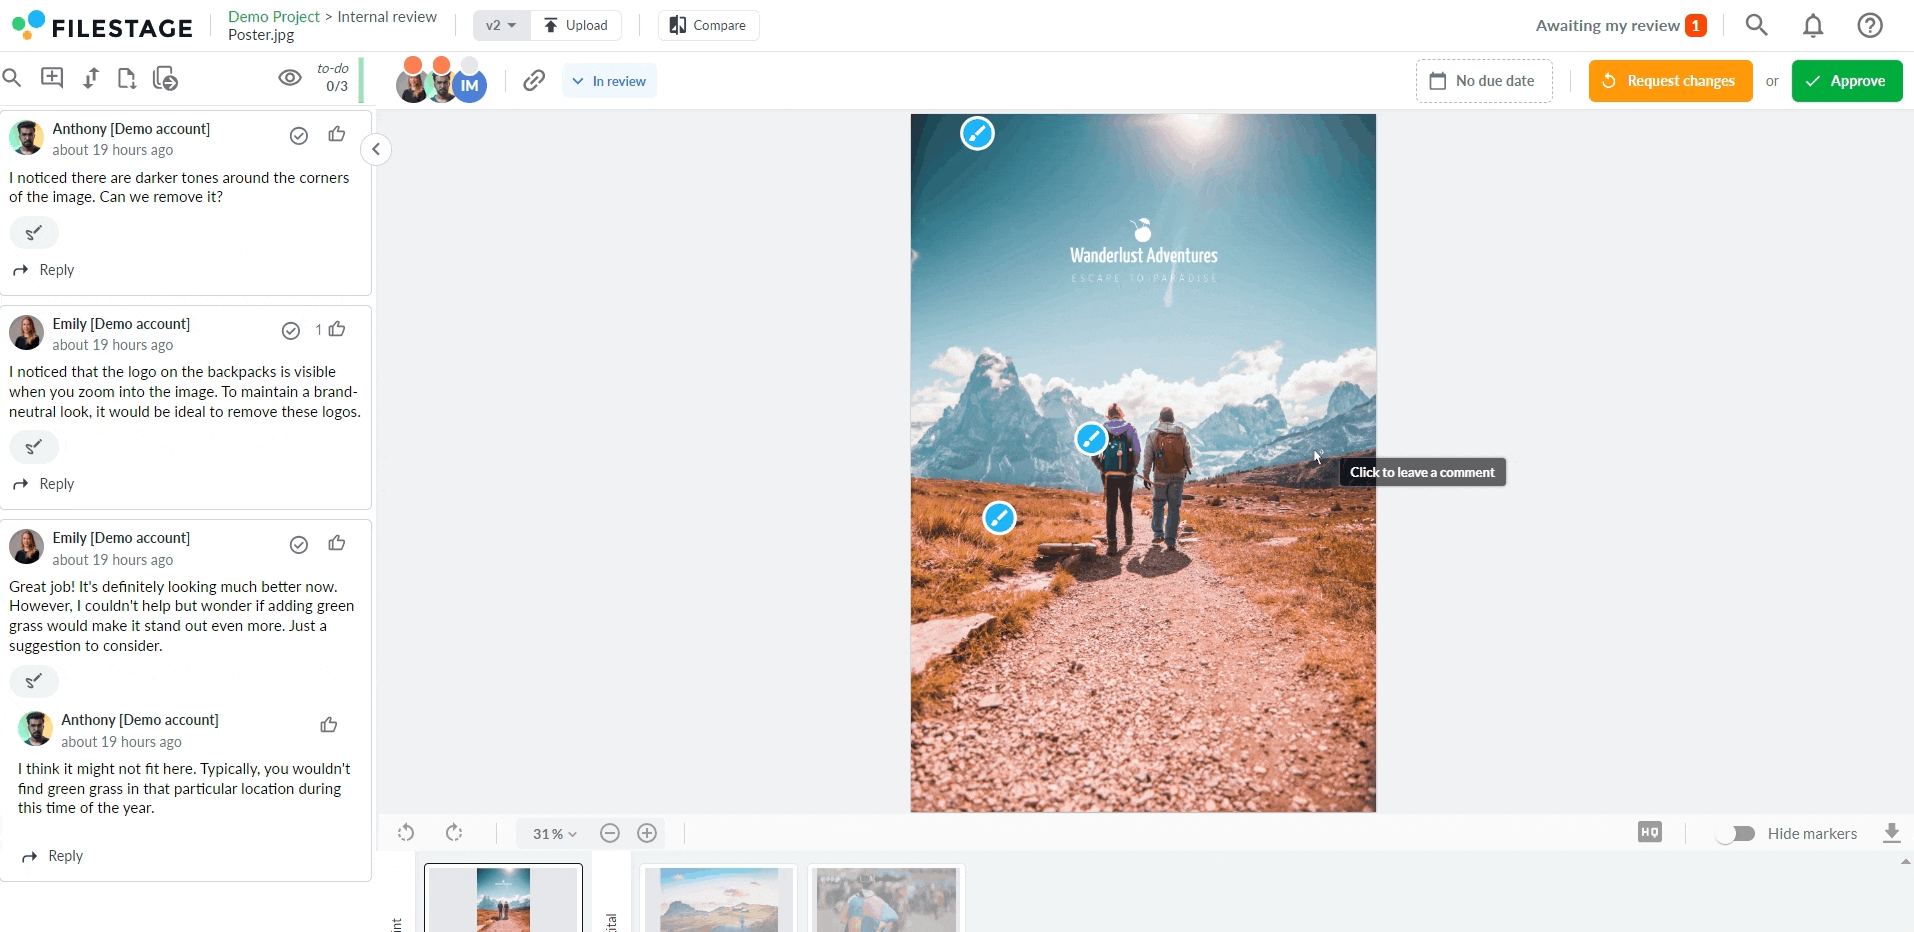
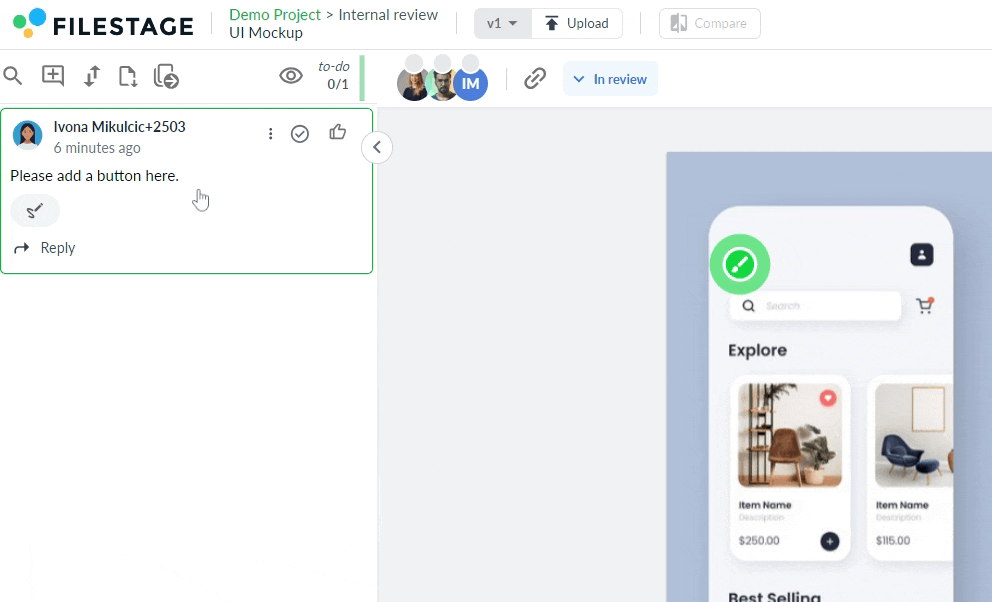
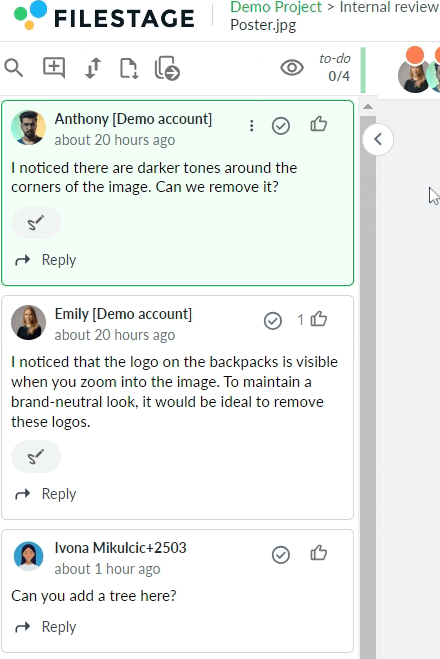
To add a comment, click anywhere on your file. A comment box will appear so you can write your comment, and a marker will appear on the file to show what it’s referencing. So, if someone clicks on your comment later, they’ll instantly jump to the right place so they have full context.
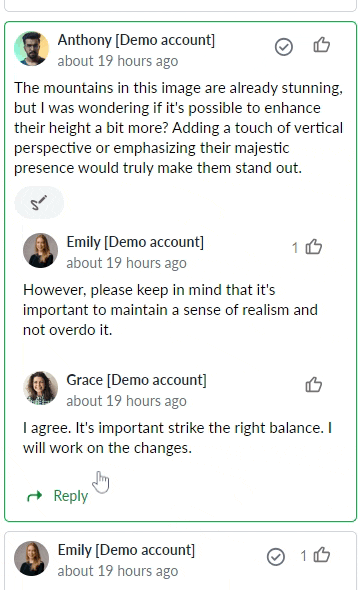
Now that we’ve covered how to create comments, let’s look at what else you can do in Filestage.
With our measuring tools, you can easily analyze distance, arc, perimeter, area, ellipse area or a rectangular area of elements within the file you are reviewing. This will help you to make your feedback even more precise!
They combine perfectly with our annotation tools, which allow you to draw, highlight, and even add shapes on top of files. This helps you to get your message across with ease.
Example: When reviewing a UI mockup, create shapes to show where buttons should be added to optimize the user experience.
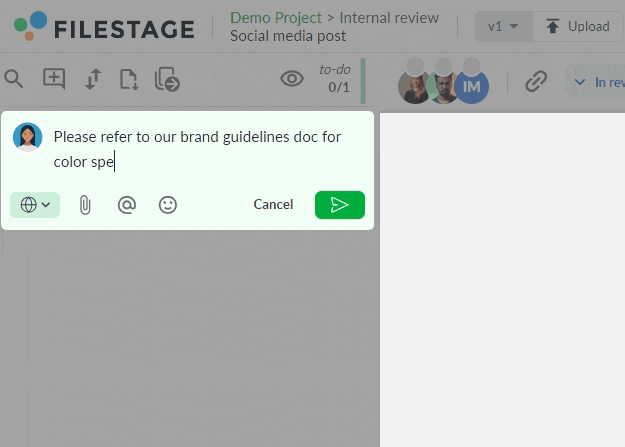
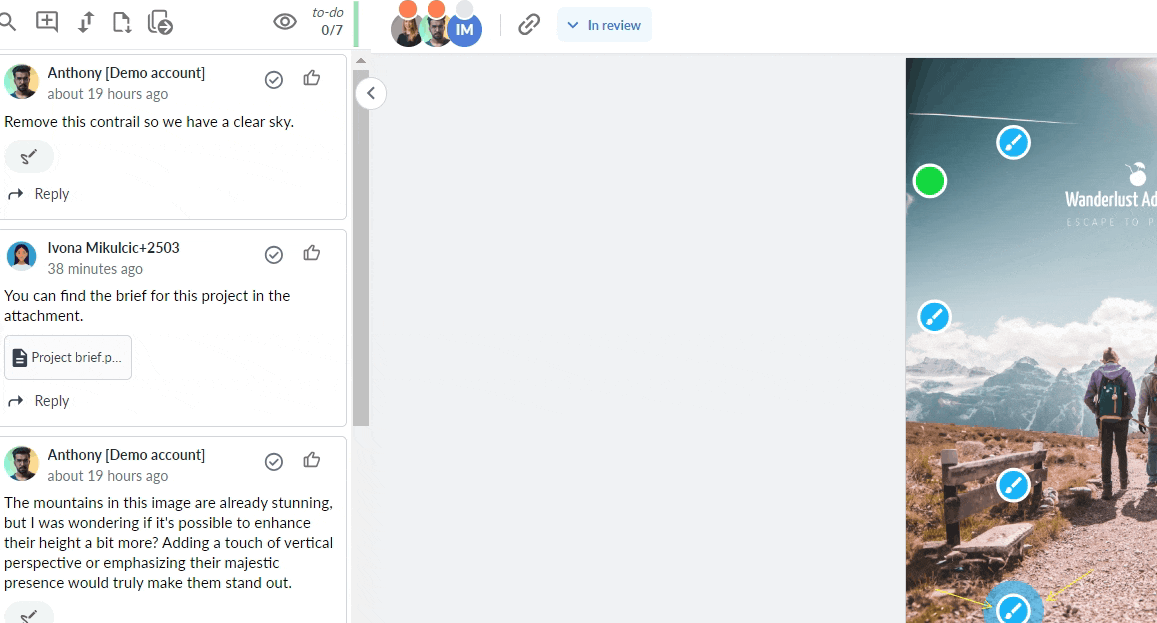
Upload files like logos, color swatches, and brand guideline docs when sharing your comments. This helps to speed up collaboration and centralizes everything your team needs to create their best work.
Example: Upload your brand guidelines doc when commenting on colors in video content. Then your post-production team can match their color grade to your brand’s hex codes.
Type “@” followed by your teammate’s email address to tag them in a comment. They’ll get a notification that they’ve been mentioned, so you won’t have to chase them up later.
Example: Tag a designer to bring them into a comment thread about the layout, so you can get their point of view in context.
When adding a comment or replying in an existing thread, choose the team-only option. This will hide your comment from all your reviewers – only the collaborators on the project will see these comments.
Example: If a client shares a comment that you’re not sure how to respond to, you can have a private back-and-forth with your teammates before replying to the client.
Once a comment has been posted, click the pin icon to pin it to the top of your sidebar. This is perfect for keeping certain comments visible as more feedback starts to come in.
Example: Post a comment reminding reviewers of your brief when sharing your designs. Then pin it to the top so everyone has context when giving their feedback.
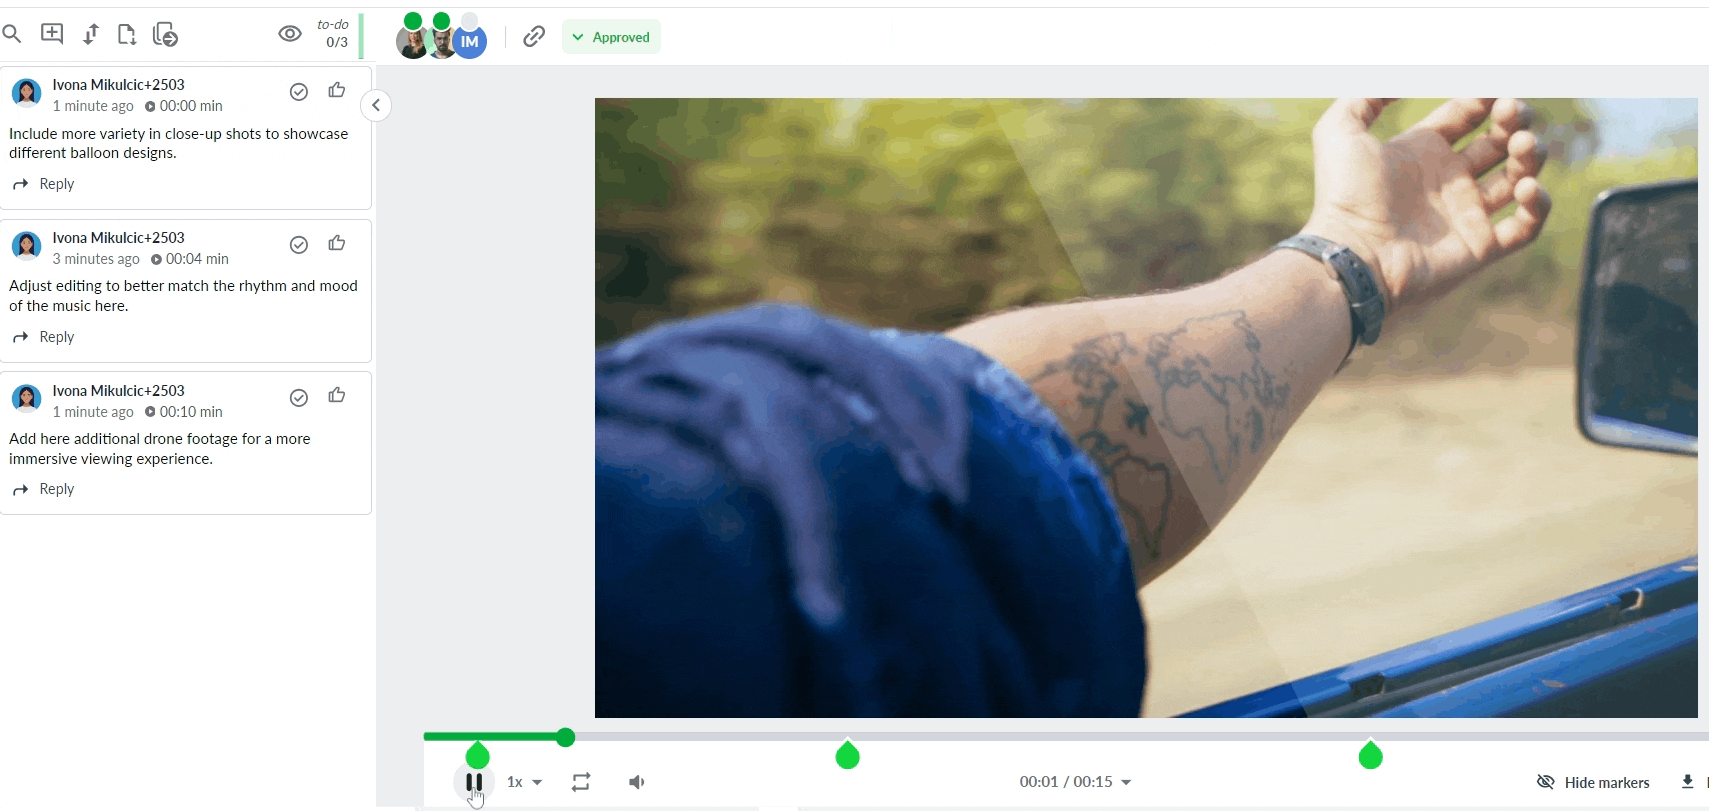
When adding comments to videos and audio files, Filestage will automatically capture the timestamp and add it to your comment. Then, when anyone clicks on that comment, they’ll instantly jump to that frame. This is especially helpful for video editors when they start making edits on the next version.
Example: Your one-minute video file receives 30+ comments from your stakeholders. Instead of trying to match each comment to scenes in their edit, they can click on the comments to see exactly which part they’re referencing.
The comments sidebar in Filestage doubles as a to-do list. So, when you’re working on the next version, you can tick comments off to keep track of your progress. This won’t delete the comments, it’ll simply hide them so you know where you’re up to.
Example: When working on a large brochure project, your designer and copywriter may have 100+ comments to work through. This makes it easy for them to track their progress and make sure no comments are missed.
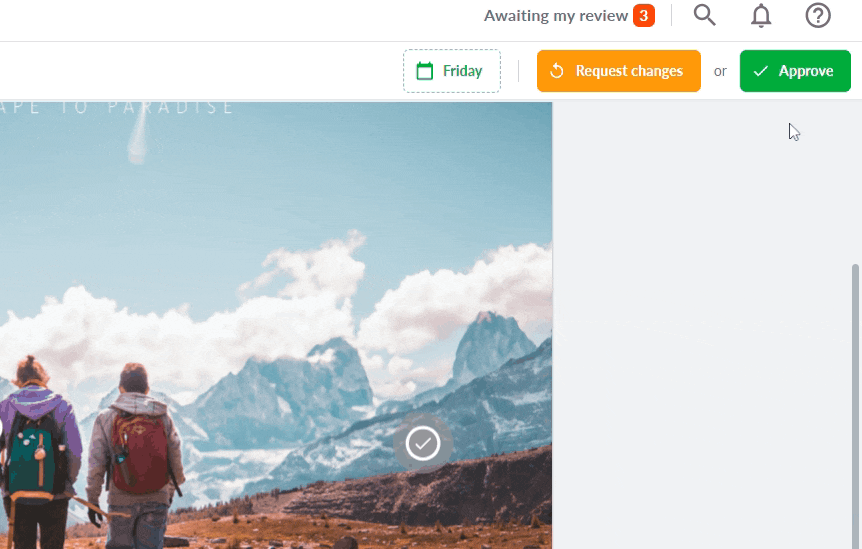
When you’re done adding feedback, don’t forget to leave your review decision. Here are your two options:
Request changes – Tap the ↻ Request changes button when you’ve added your comments. Your team members will then see that you’ve finished leaving feedback, so they can start working on the next version.
Approve – Everyone’s favorite feature! Tap the ✓ Approve button when you’re ready to move the file to the next review step.