You can now automate manual steps by creating custom automation for your projects and project templates.
This makes it easy to:
avoid repetitive, error-prone tasks and save time
create consistent workflows that meet your compliance needs
eliminate review queues that need to be continued manually
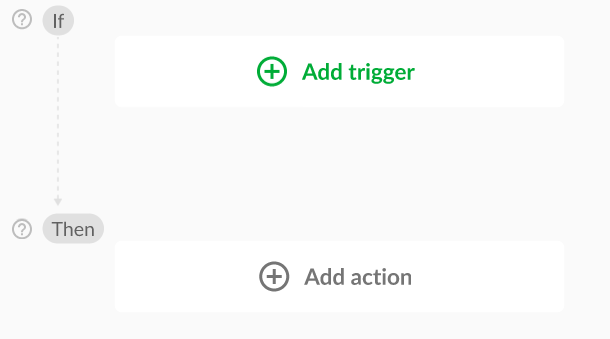
Automation consists of a trigger that leads to one or more actions responding to it.
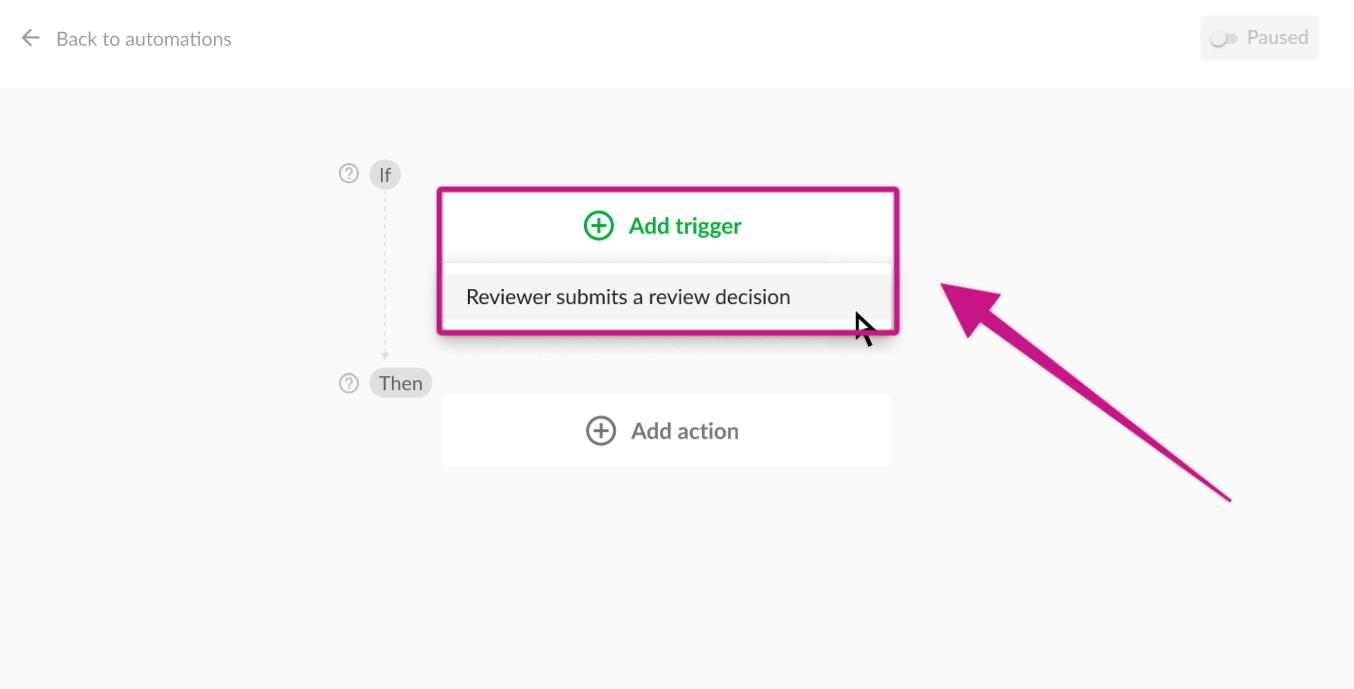
Reviewer submits review decision
Review started for a file
Due date reached
Review status changed
Last activity X days ago
Specific reviewer submits review decision
More triggers will be available soon. If you'd like to request a specific trigger, please get in touch.
Start review in the next reviewer group
Change review status
Set due date
Move a file to a section
Archive file
Change review status and start next review
When reviewers approve the file, change the review status and start the review in the next reviewer group
When the review is started, add a due date
When the due date is reached, start the new review
More actions will be available soon. If you're like to request a specific action, please get in touch.
Open the project or project template you would like to create automation for
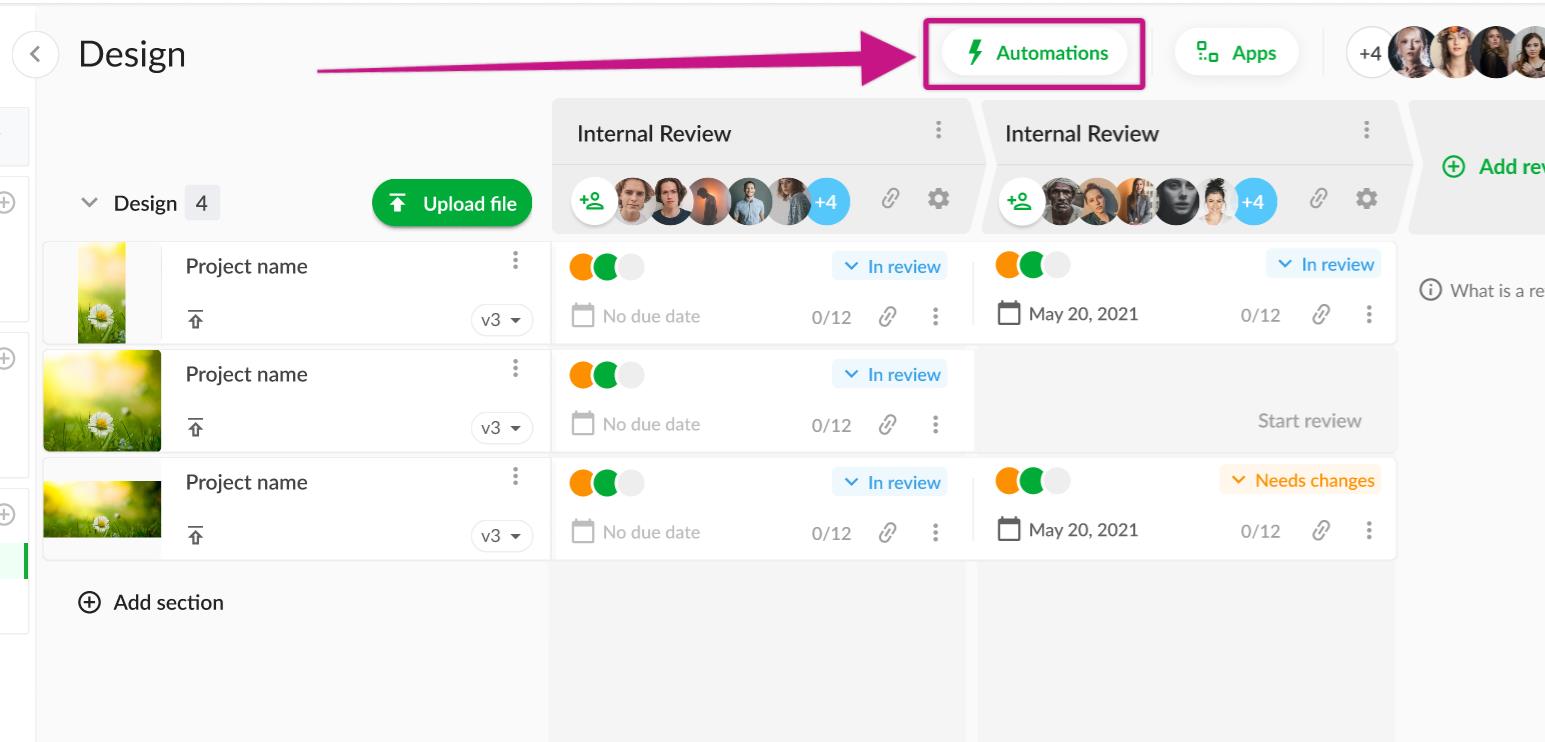
Click the Automations button above the project view and select Create automation
Select the trigger from the dropdown menu for your automation
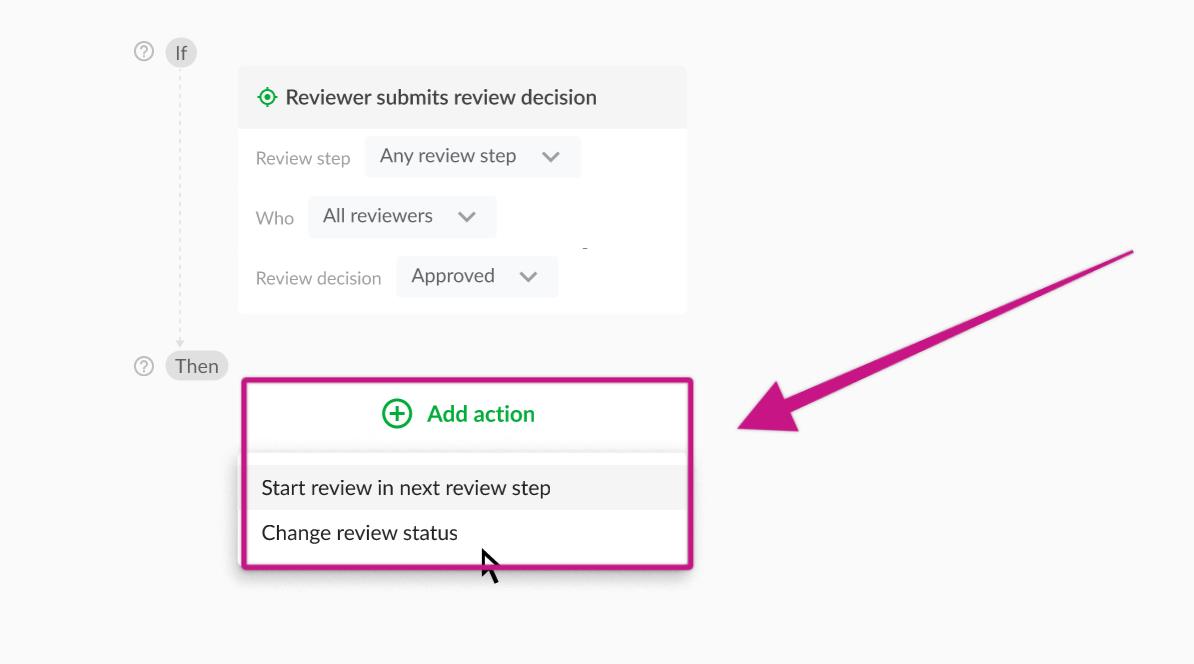
Customize the trigger settings to suit your workflow

Add actions to your automation and customize it to your needs
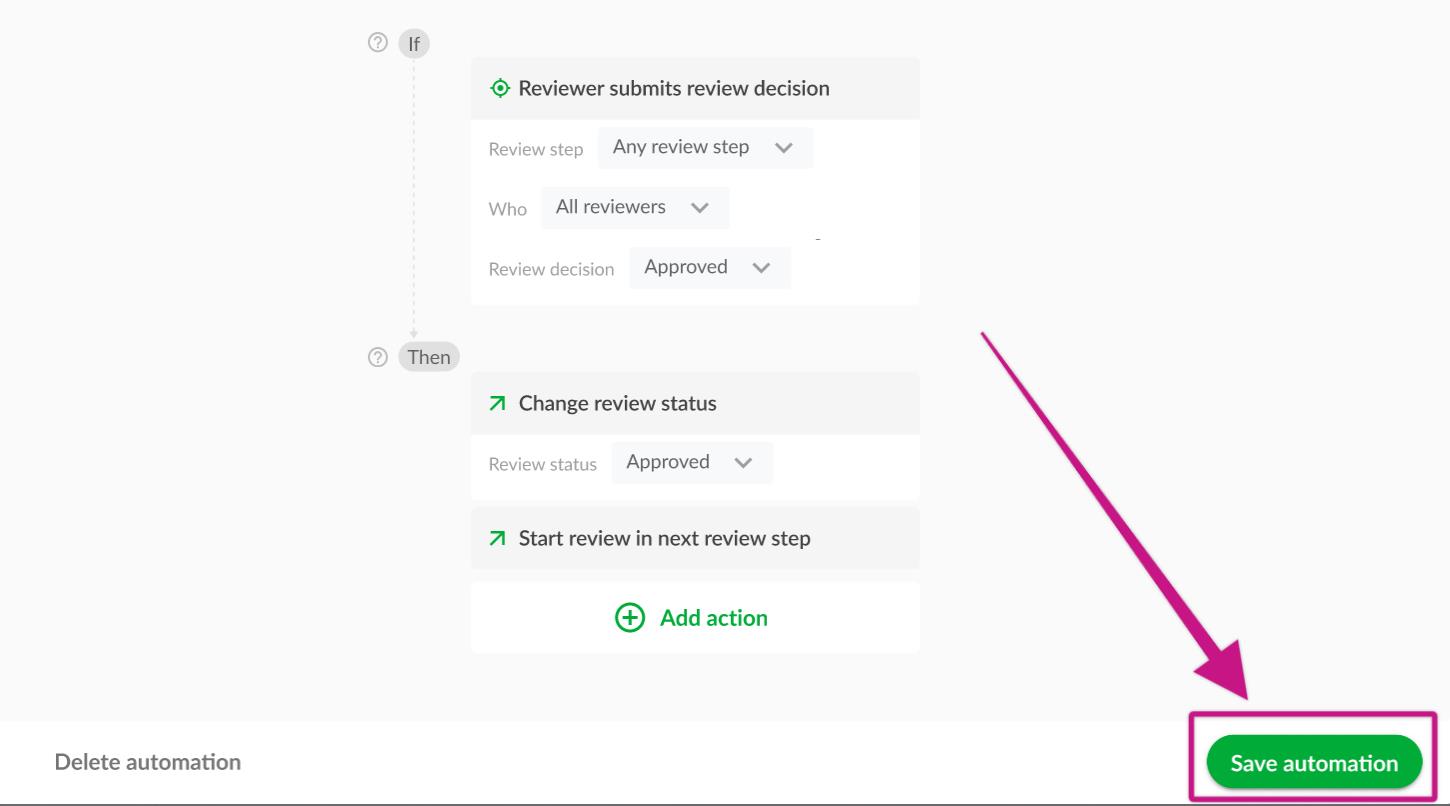
Activate the automation by clicking Save automation
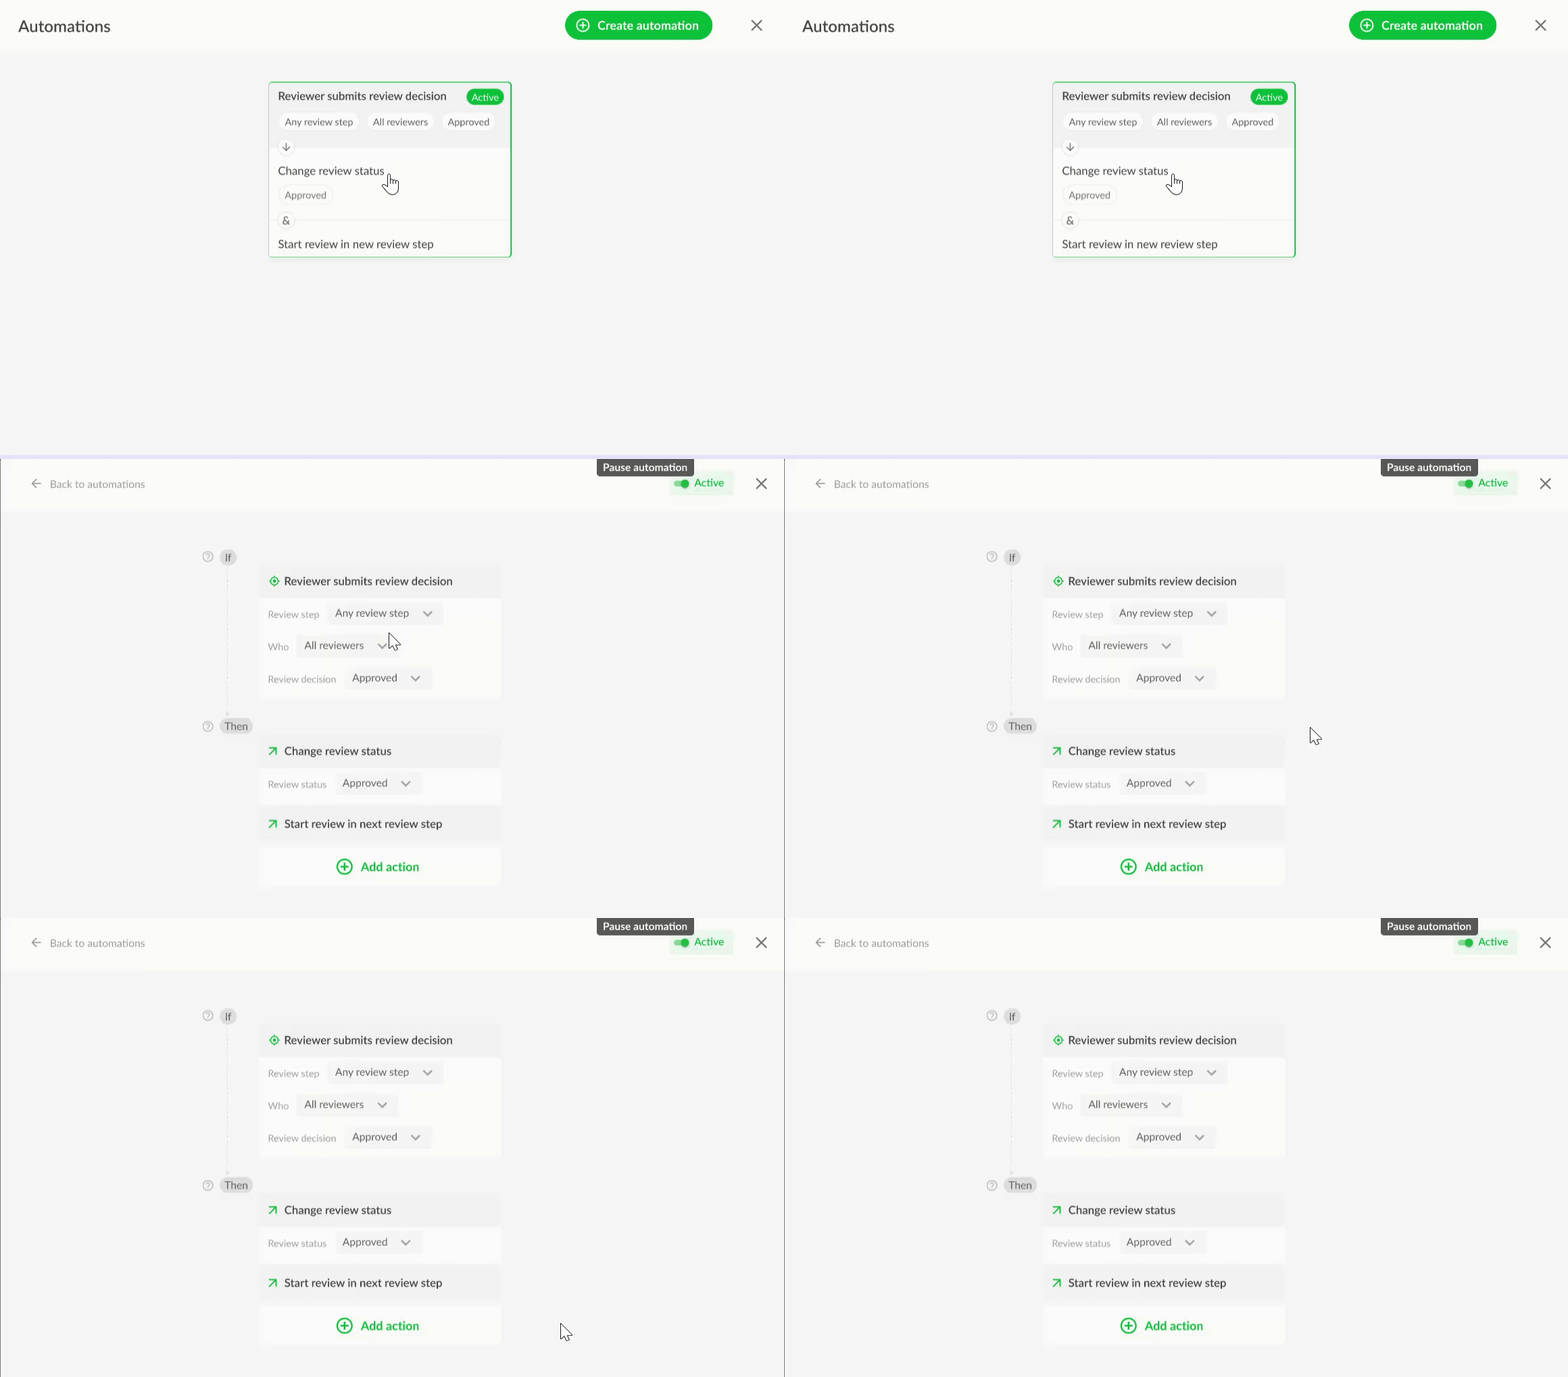
Click the Automations button at the top of your project dashboard and select the automation you want to edit
Hover over the part you want to edit, then click on it.
Edit the automation according to the needs of your project.
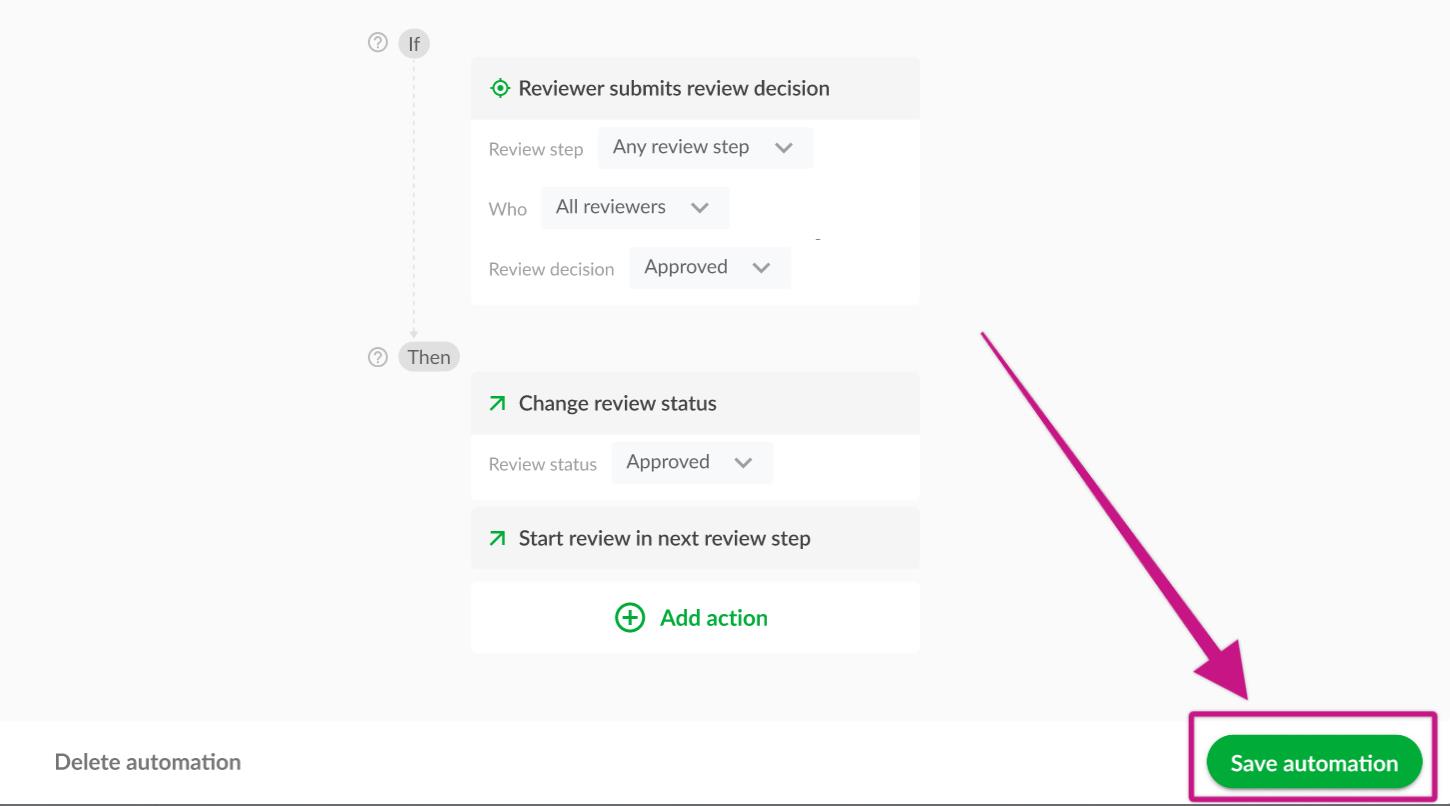
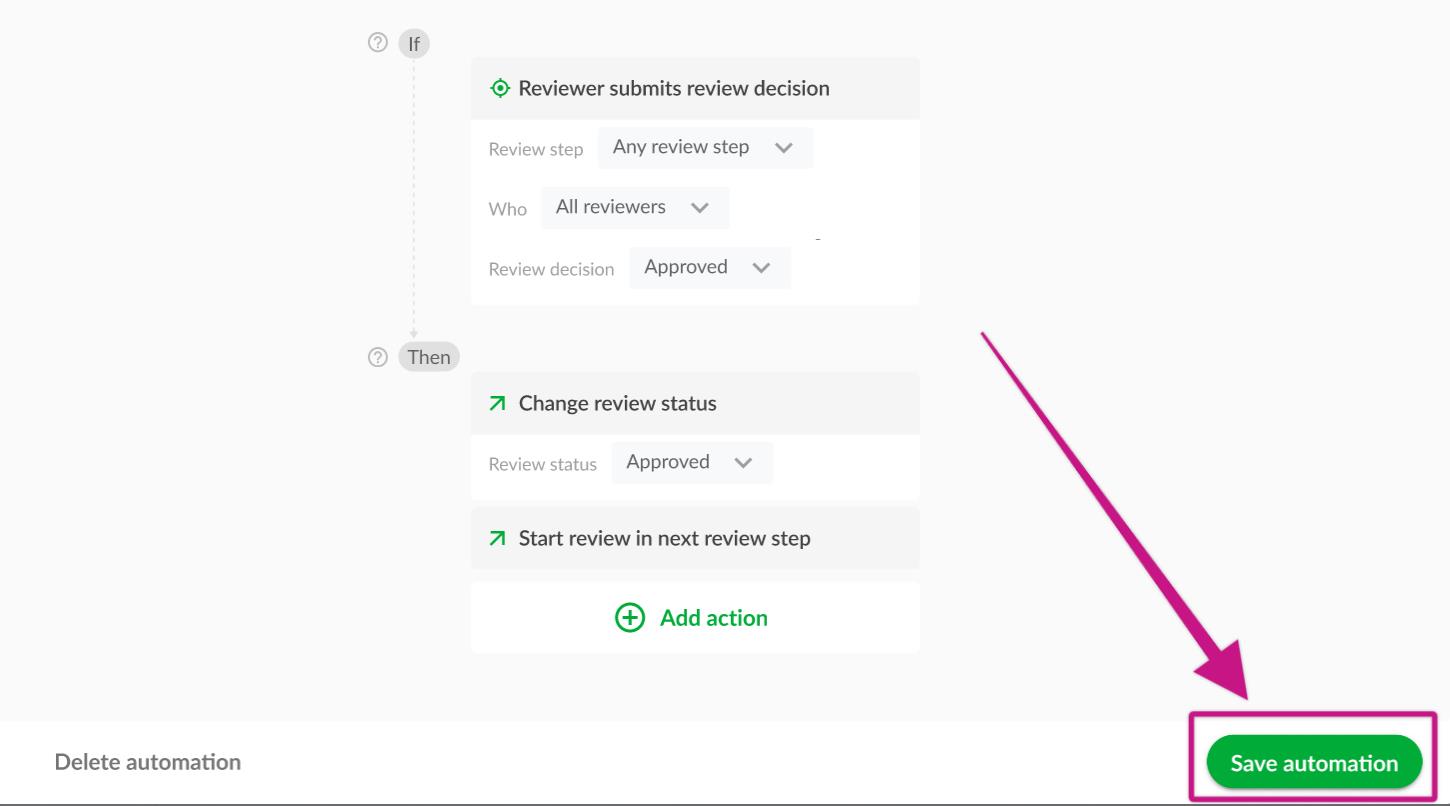
Click Save automation to apply your changes
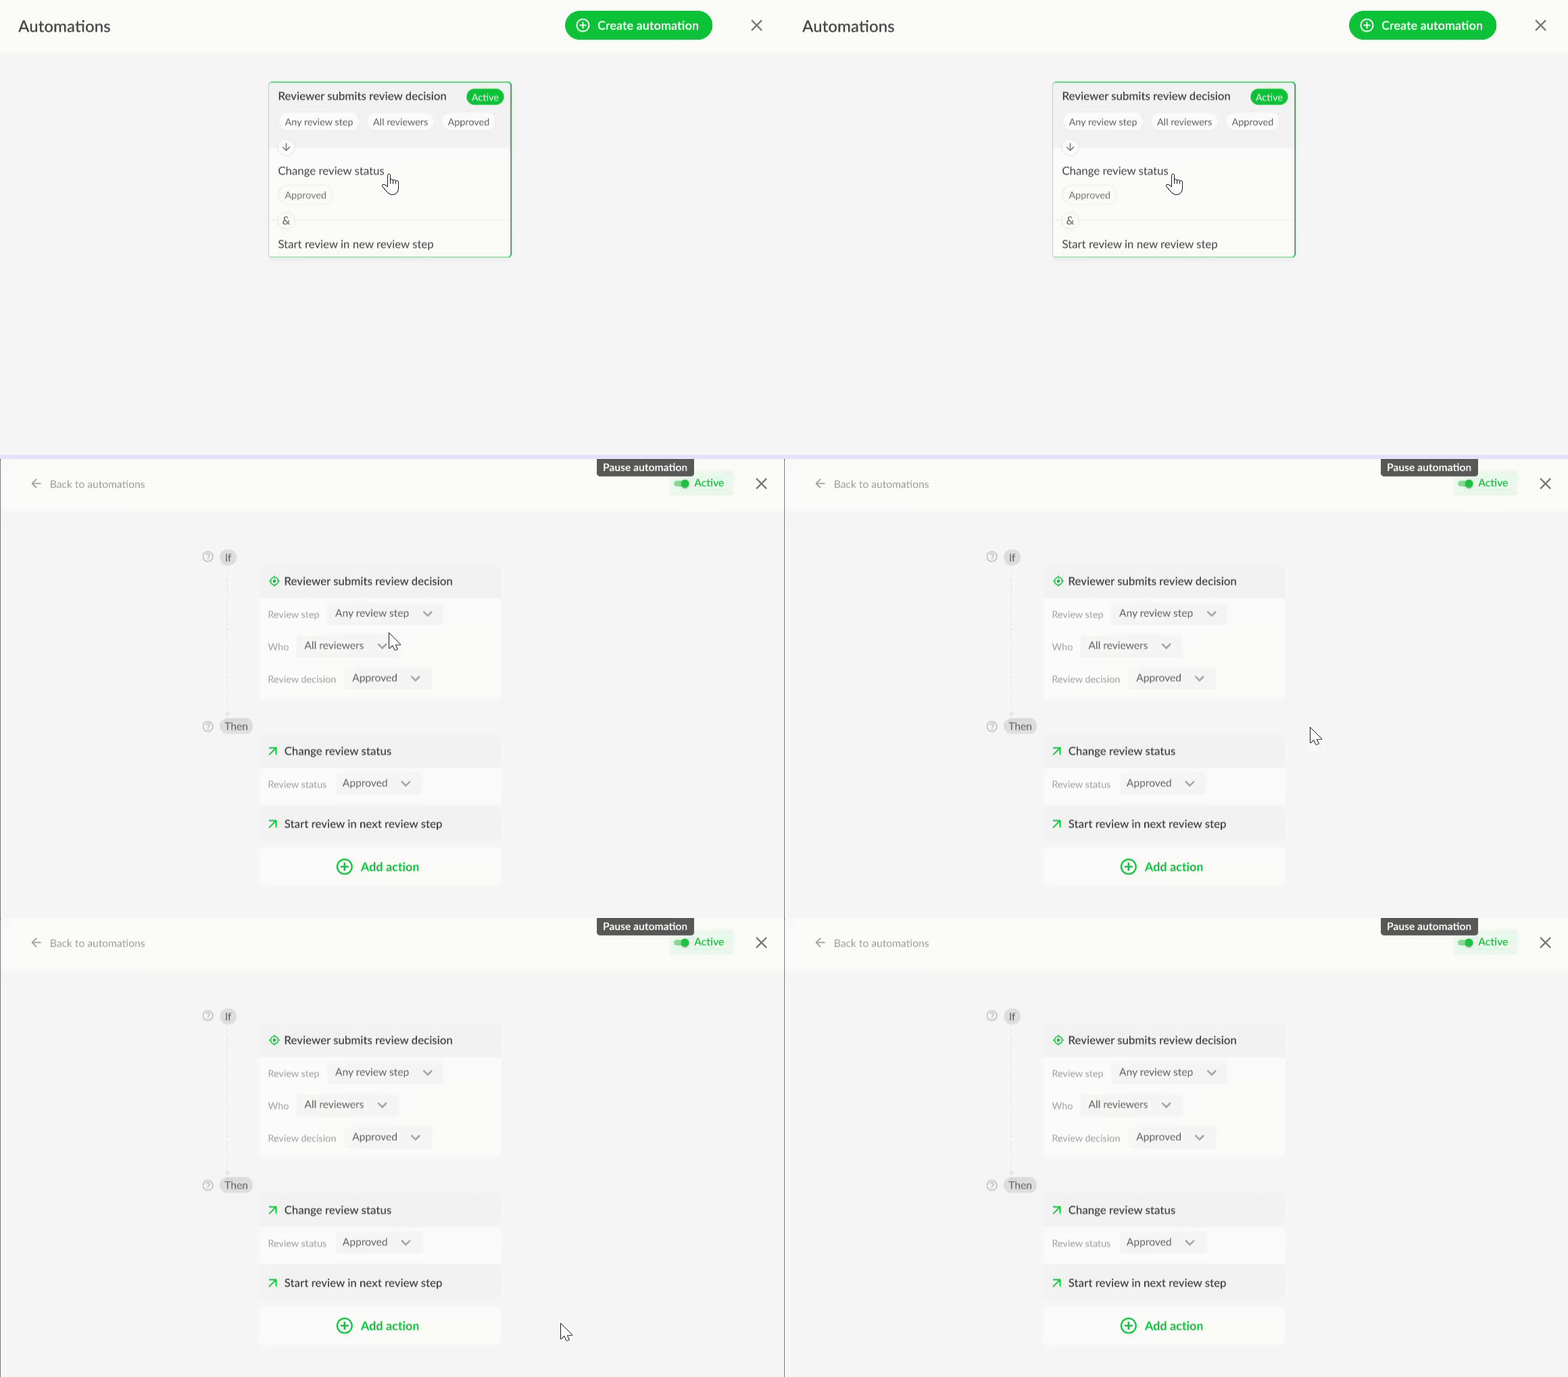
Click the Automations button at the top of your project dashboard and select the automation you want to edit
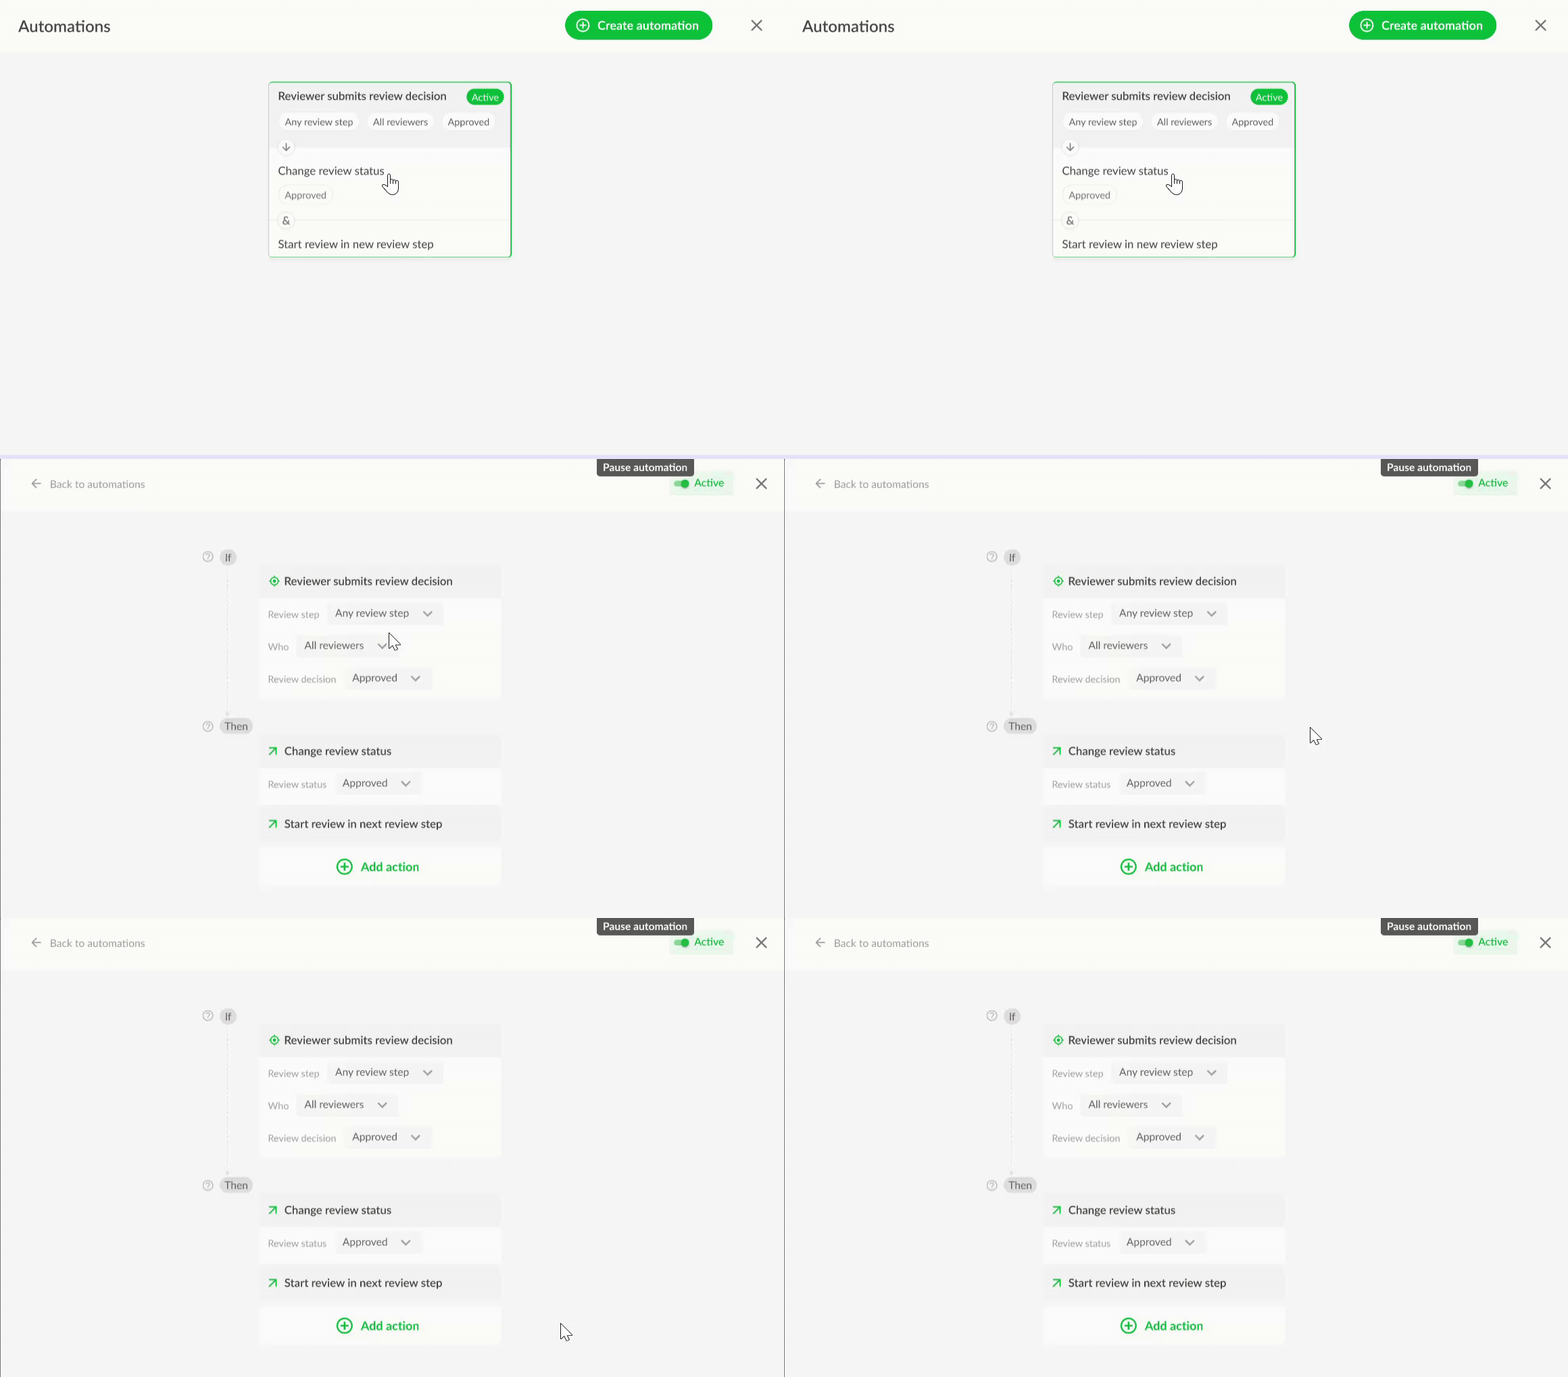
Click on the slider to pause this automation – if you change your mind and want to reactivate the automation, click on the slider again
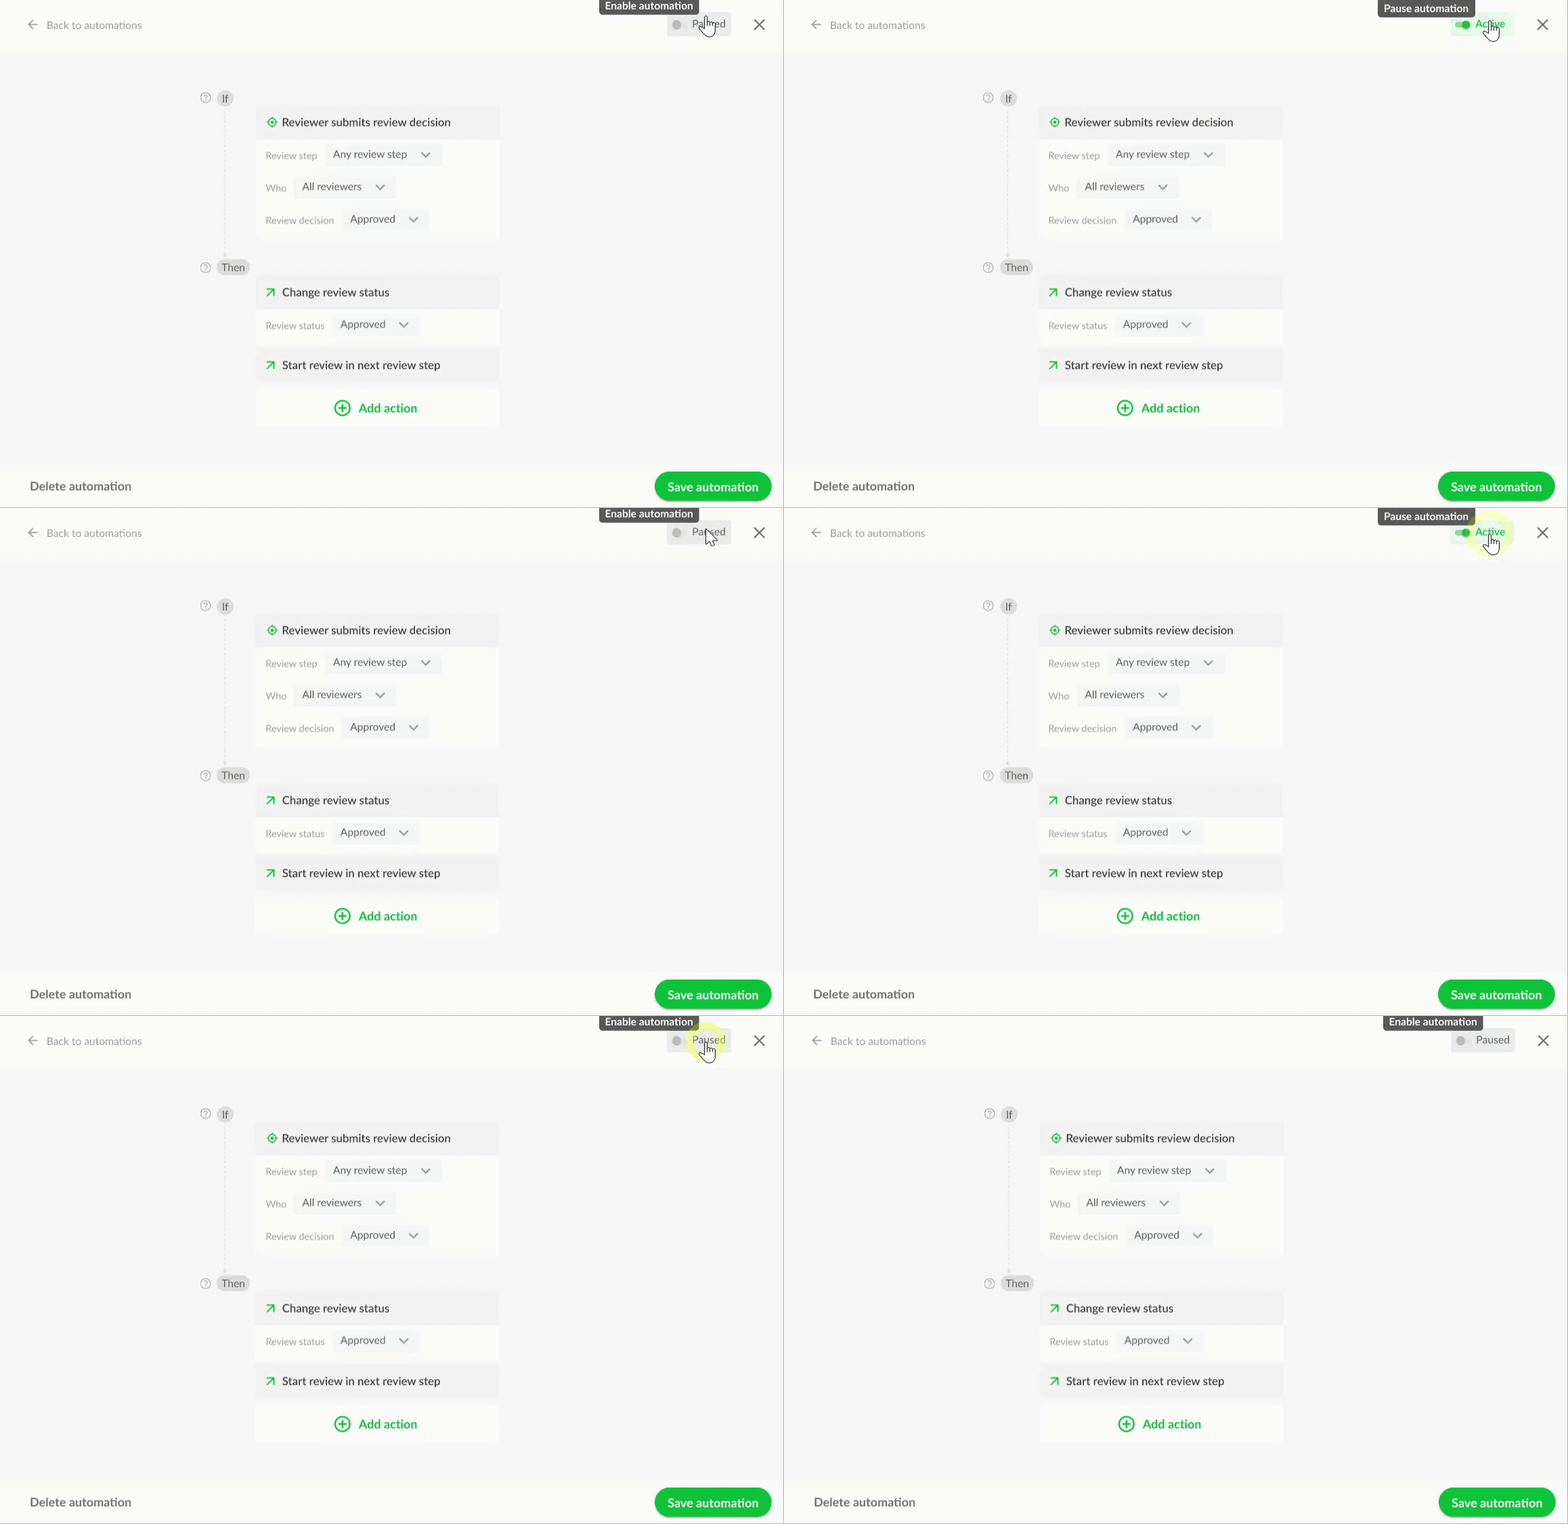
Click Save automation to apply your changes
Click the Automations button at the top of your project dashboard and select the automation you want to edit
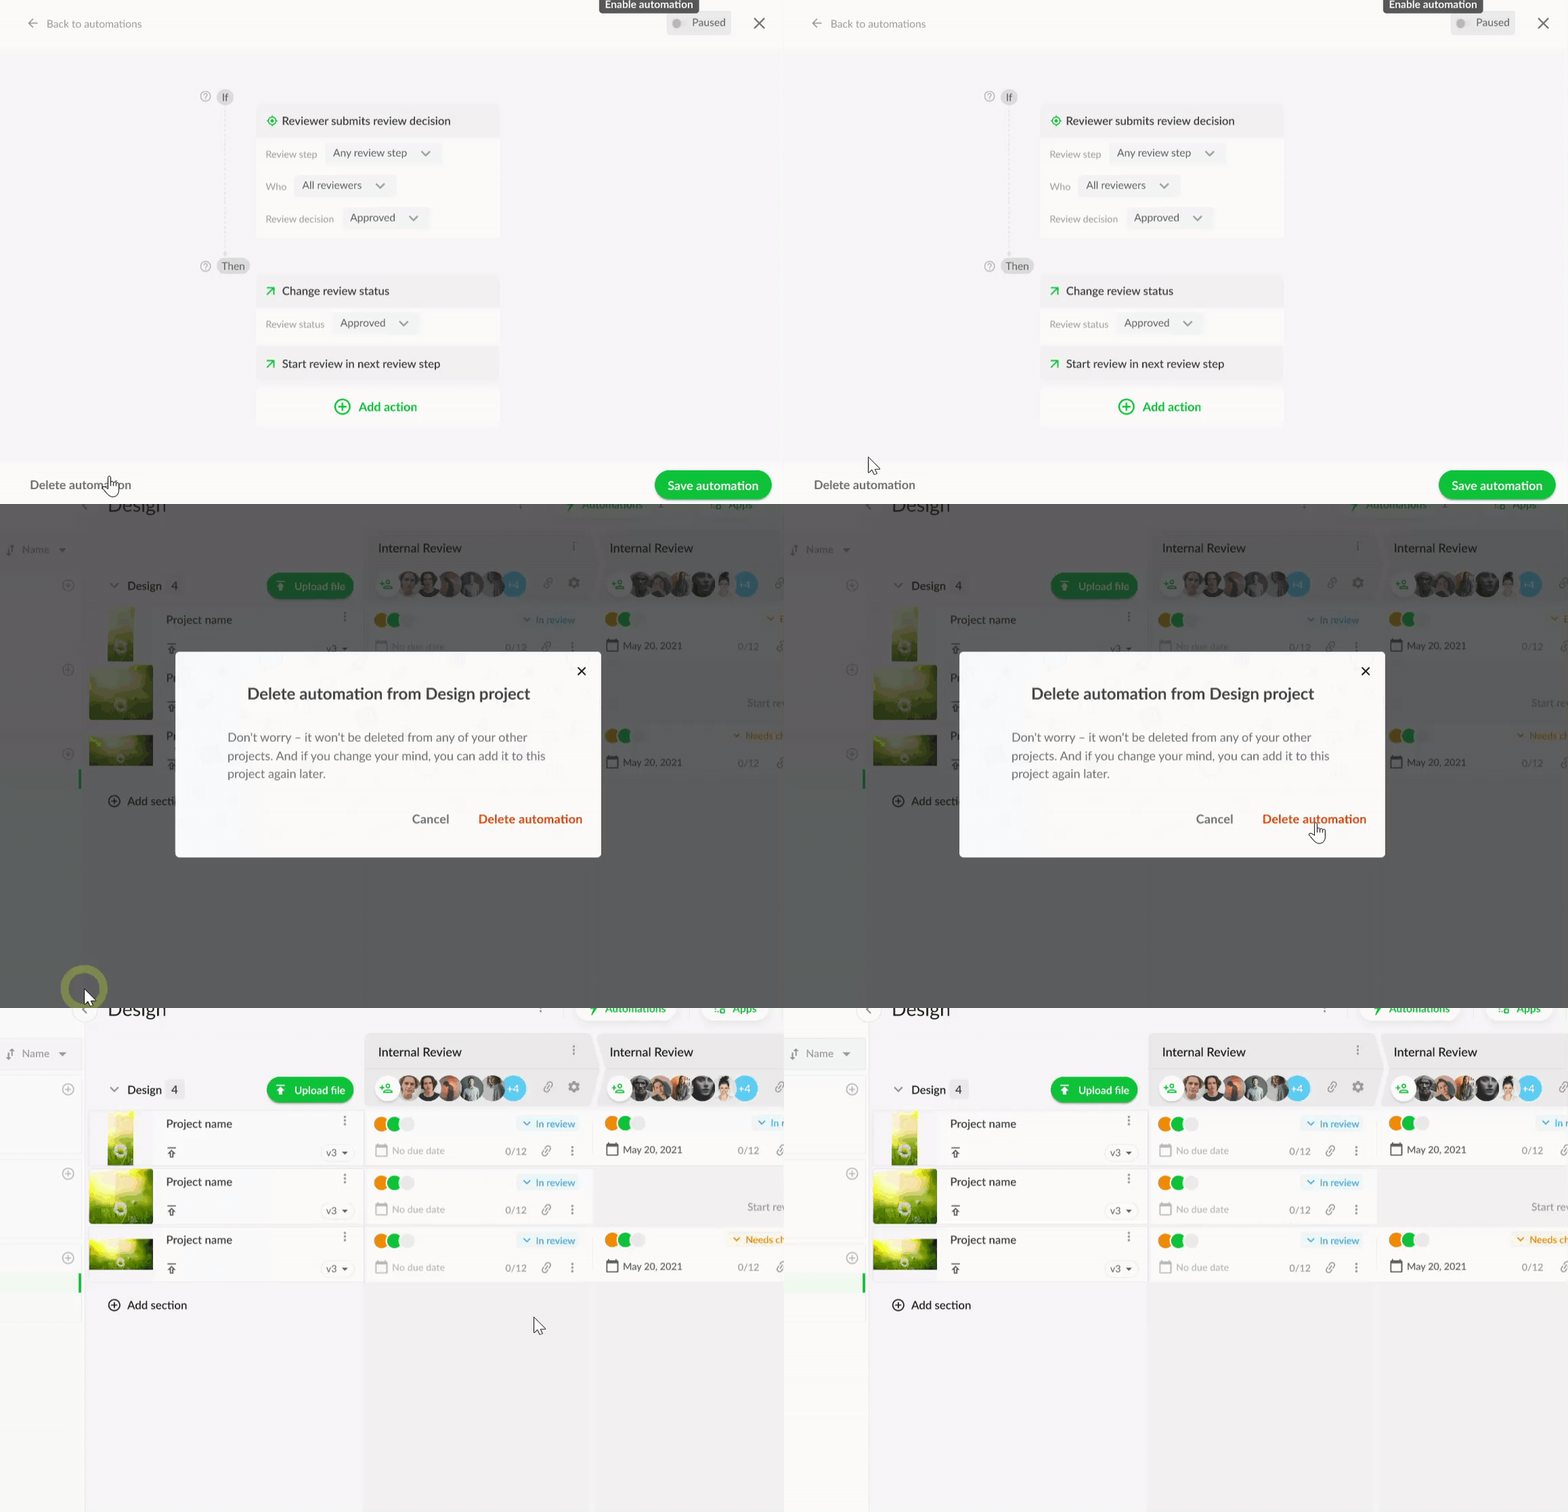
Select Delete automation and confirm your choice
With our latest update, you can now add automations to your project templates, providing a more efficient and optimized workflow. By incorporating automations into your project templates, you can easily create a template and add automations to it, reducing the amount of manual work required. Additionally, you have the flexibility to delete or update the automations in the template as needed, allowing for better control over your workflow. To apply automation to your project template, select your project template and follow the steps outlined previously.
For more information regarding project templates, click on the following help center article: Create and use project templates
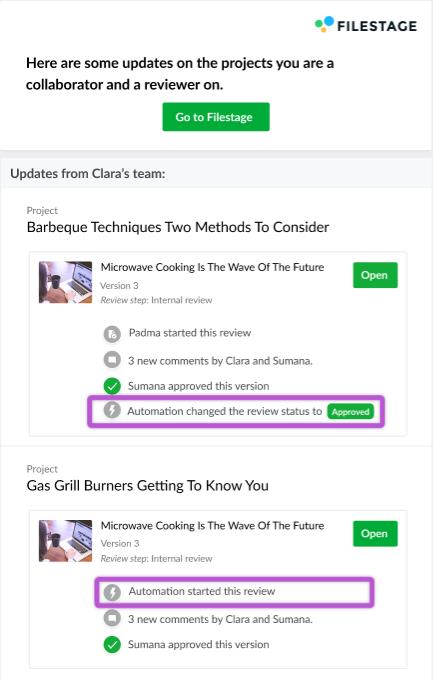
Once an automation is enabled in a project, project collaborators and reviewers will be notified of any changes made by automations.
You will be notified by email via the project activity notifications.
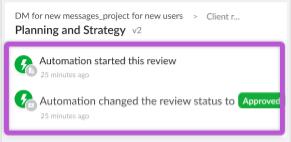
You'll also see these updates in the notification center.
For more information about your notification settings, please refer to the article Control how many email notifications you are getting.
💡What´s next? After understanding how to create and use automations, see how to use the search to quickly find the information you need.
If you have any questions or comments, please contact us through chat or email at support@filestage.io.