
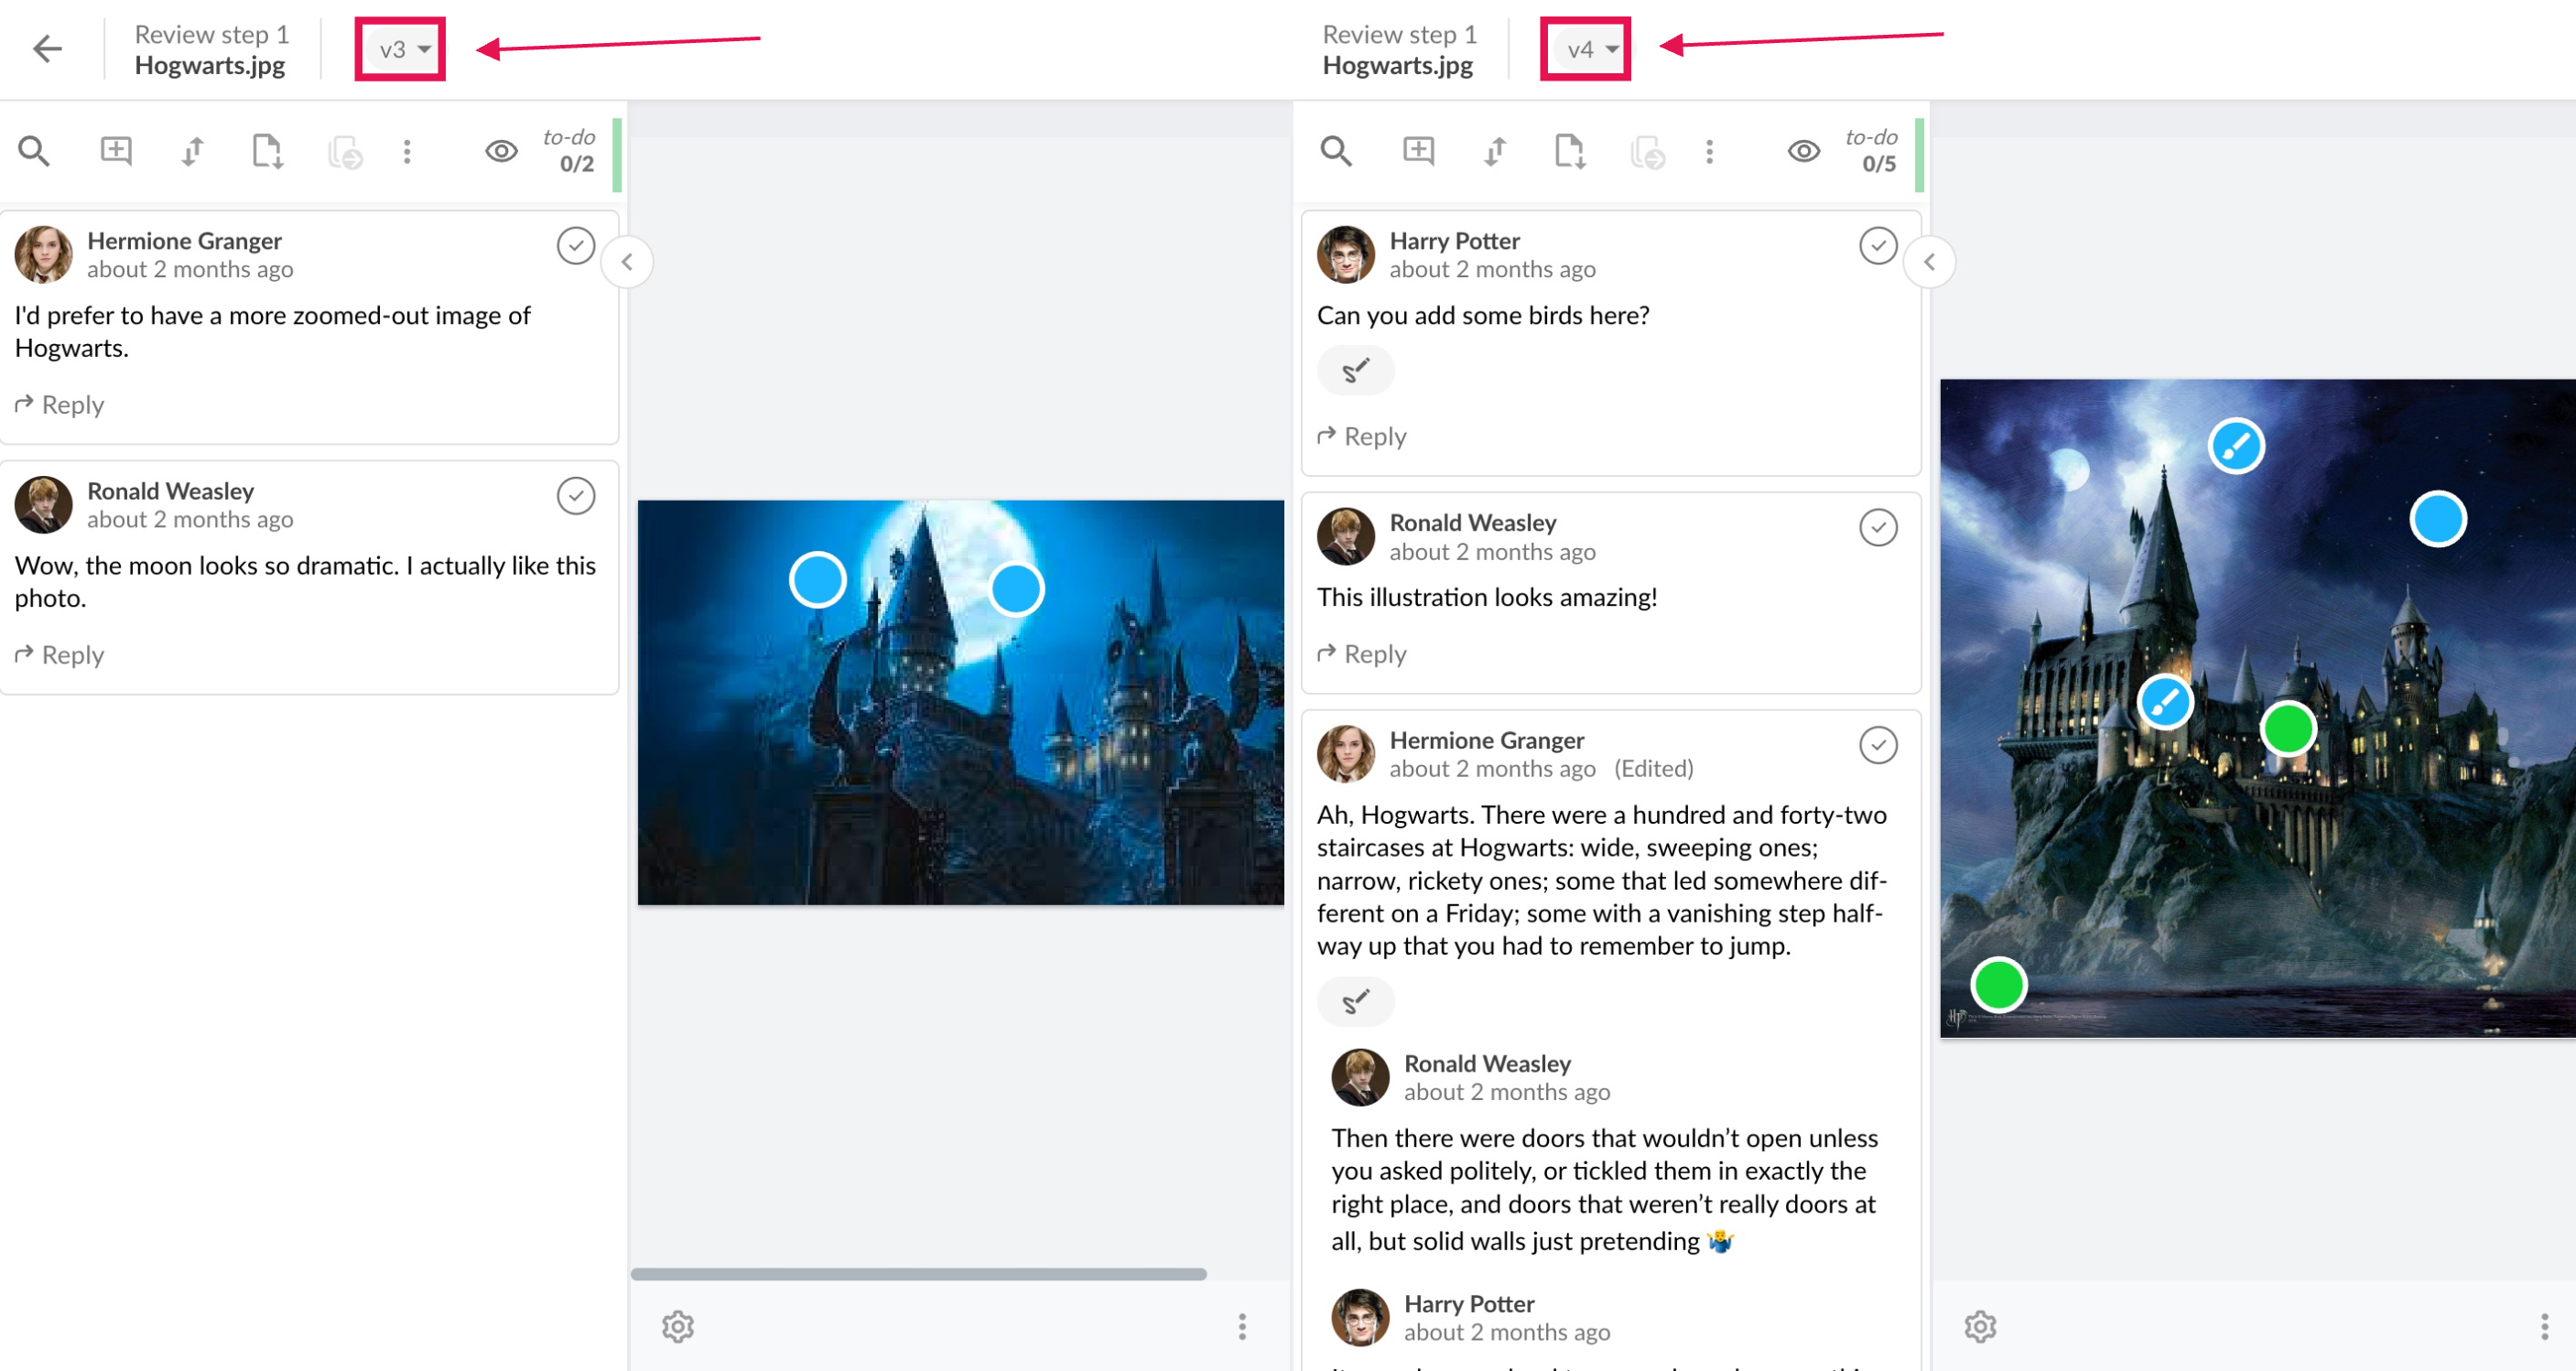
This feature will only be available when there are two or more versions to compare.
By default, the two latest versions of the file will always appear. If you would like to compare an older version with the newest, you can select which version to compare on the drop-down menu.
By default, the side-by-side view is displayed. Click on the compare text mode to activate it.
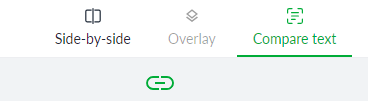
To automatically see what text has changed, see the highlighted text side-by-side. From here, you can ensure the changes you requested were made.
With this feature, when comparing two versions of an image, document, or video, they’ll both stay in sync as you scroll, zoom, pause, or rotate your content. And if you want to turn it off, just tap the sync button at the top of your screen:
doc
docx
pptx
xlsx
Now that you have seen what exactly has changed, you are able to leave your review decision and eliminate the worry of missing any changes.

A general rule of thumb: As long as you can select and/or copy the text from your document, our text comparison tool will recognize it!
💡What´s next? After understanding how to auto-compare text, see how to Compare versions of a file directly in the viewer.
Let us know if you have any questions by reaching out to us on chat or emailing us at [email protected]. We're always happy to help!
