Managing and organizing your projects in Filestage is simple and efficient. By creating folders, you can easily group and categorize projects based on client or department.
To be able to create a more complex structure, you can also create subfolders. This makes it possible to create up to three layers of folders!
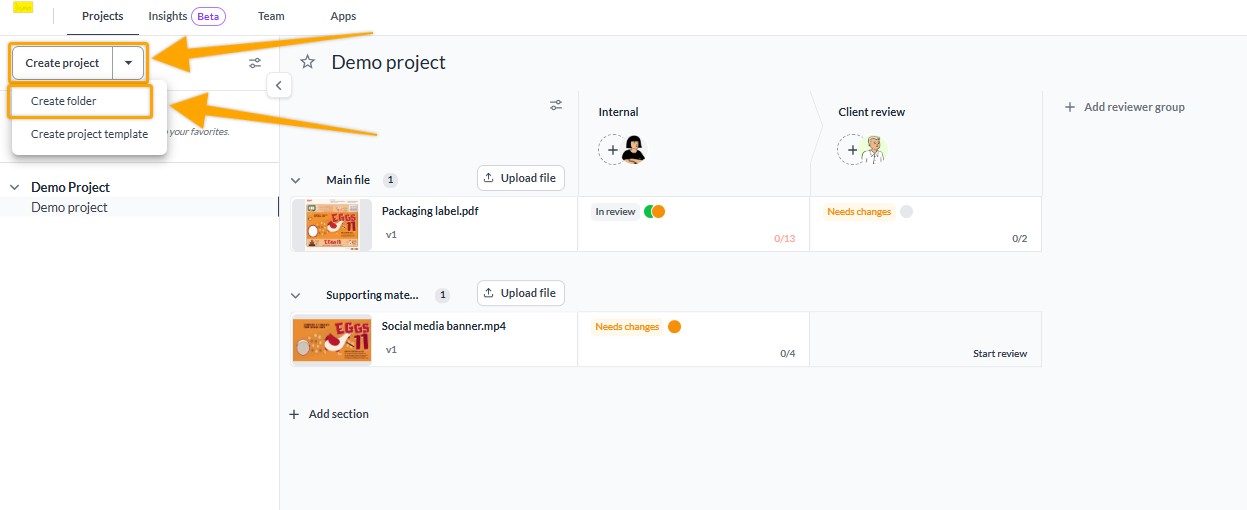
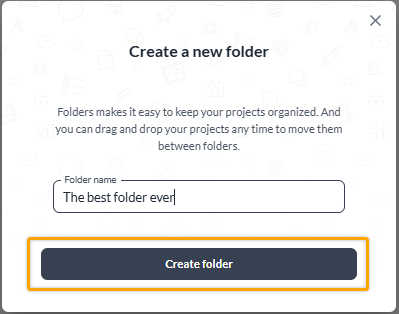
There are two ways to create a new folder. To do so, please follow these steps:
 OR
|
If your structure changes or you simply would like to rename the folder for any other reason, you can do so by following these steps:
|
To delete a folder, it must not contain any projects. Before it can be deleted, all projects within it must be moved or deleted. You can delete an existing folder by following these steps:
|
To create a subfolder, follow these steps:
|
Under certain circumstances, folders can also be archived. The following conditions must be met to archive a folder:
If a folder contains at least one active project inside it or any of its subfolders, then it will be visible, together with all of its subfolders.
In other words:
If a folder and all of its subfolders do not contain any active projects, it is archived together with the last active project.
This applies only to main folders (the first-level folders).
Subfolders are only archived together with the main folders
You now can bookmark your favorite projects to be able to find them quickly and access them right away!
To mark a project as your favorite, simply click on the star next to the project name in the dashboard view:
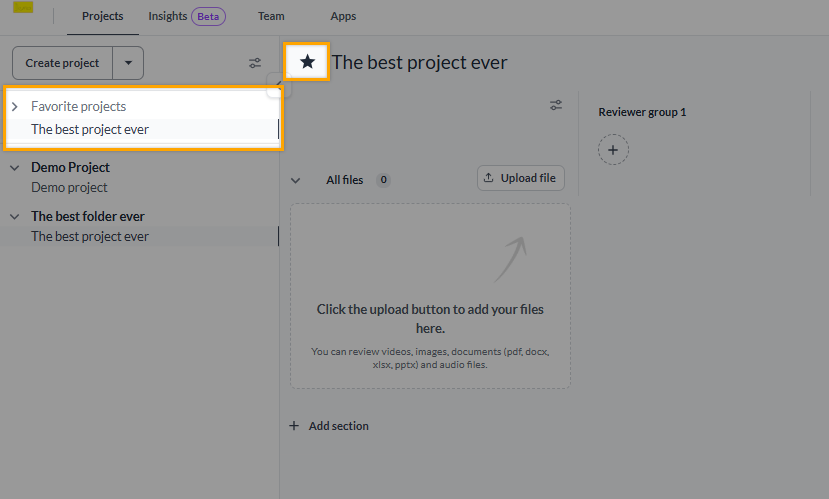
Now you can find your favorite projects right on the top of the project list, on the left border of the dashboard view!
Invite team members as project collaborators to a specific project. Once invited, they will be able to access the project and see which folders projects are nested in.
Invite reviewers to reviewer groups where you want them to have access to particular files. Once invited, they will be able to see all the files in the reviewer group.
Unfortunately, it is currently not possible to invite team members or reviewers to view an entire folder.
💡 What's next? Once see how to organize projects in folders, see how to manage your email notifications.
Let us know if you have any questions by reaching out to us on chat or emailing us at [email protected] We're always happy to help!