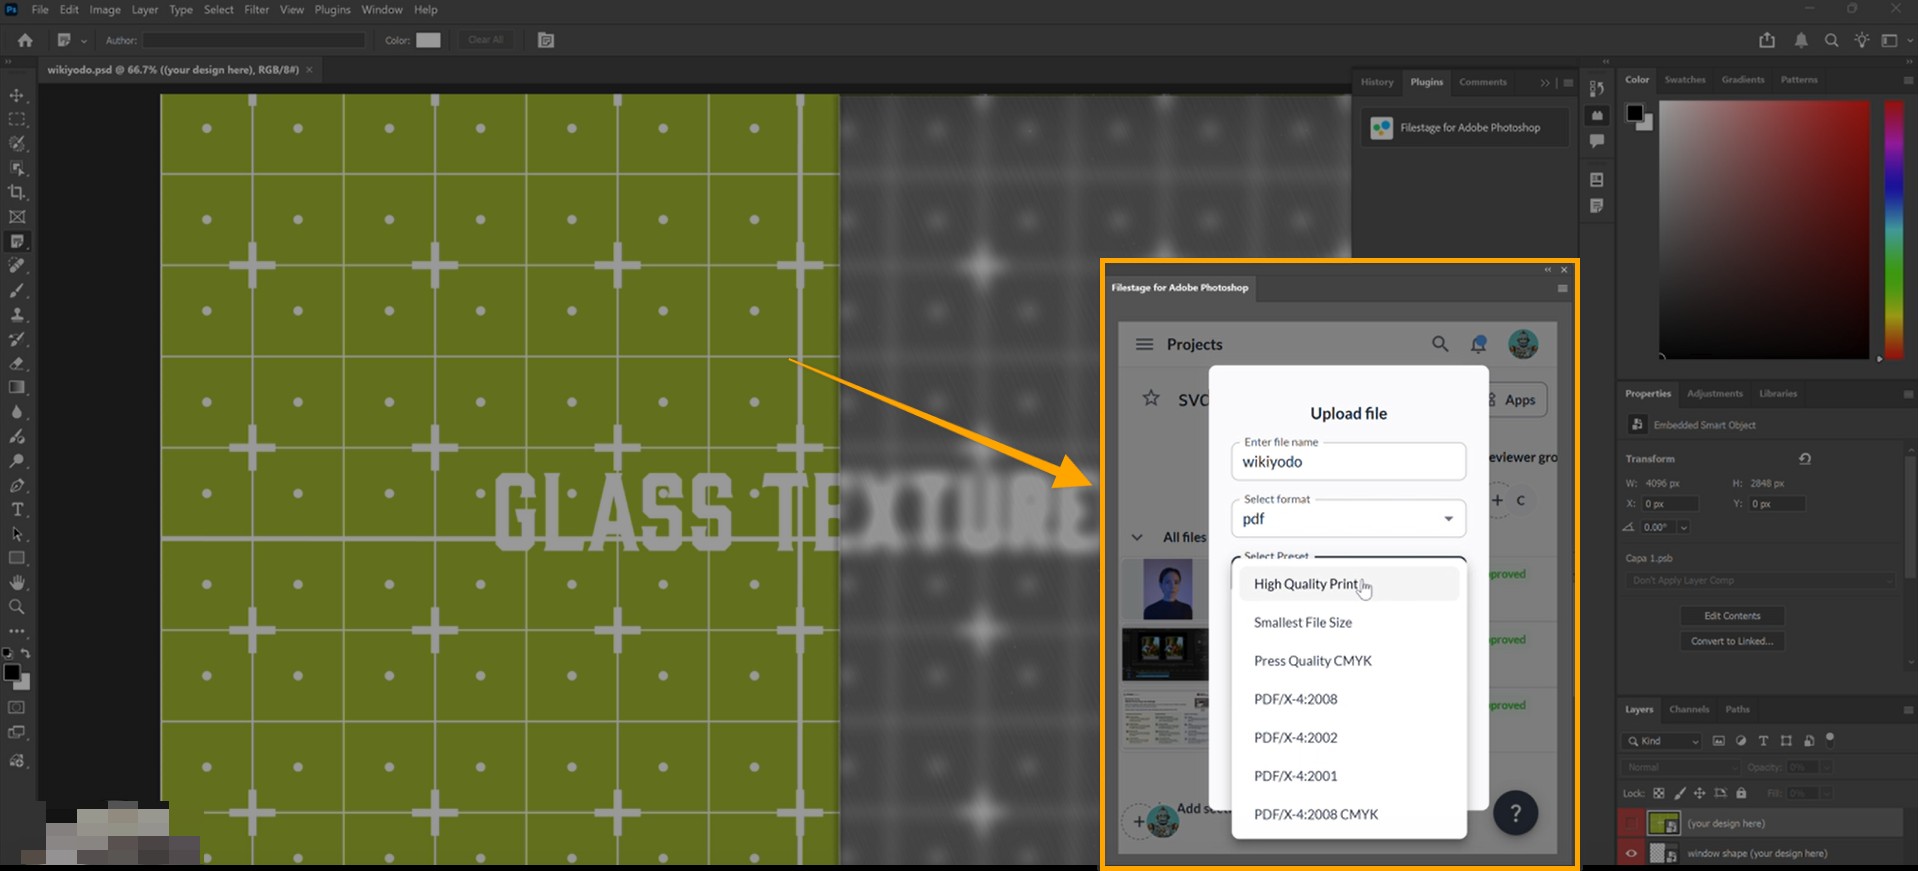
With the Filestage for Adobe Photoshop plugin, content creators can streamline their creative workflow by exporting images directly to reviewer groups and viewing feedback as native markers inside Photoshop.

Switching between your creative tools and your review platform can be a major distraction. This integration eliminates that friction by bringing your Filestage projects directly into your Adobe Photoshop workspace.
Key benefits for Content Creators:
Save time: Export images in various formats (PNG, JPEG, etc.) directly to Filestage without the manual "save-as" and upload dance.
Maintain focus: Stay in your creative flow by viewing reviewer comments as native Photoshop markers pinned to the exact right location.
Simple collaboration: Select specific reviewer groups and start reviews the moment you finish your design.
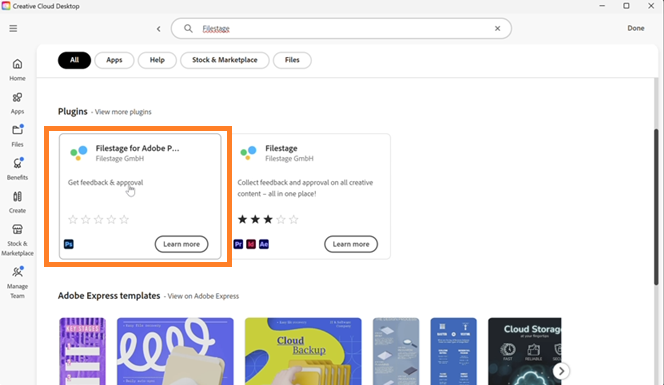
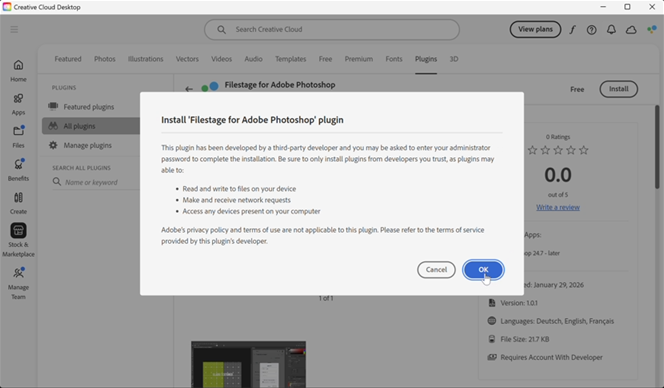
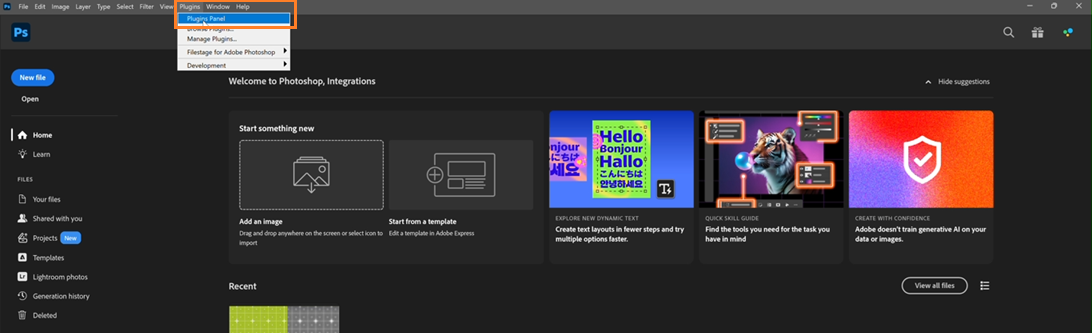
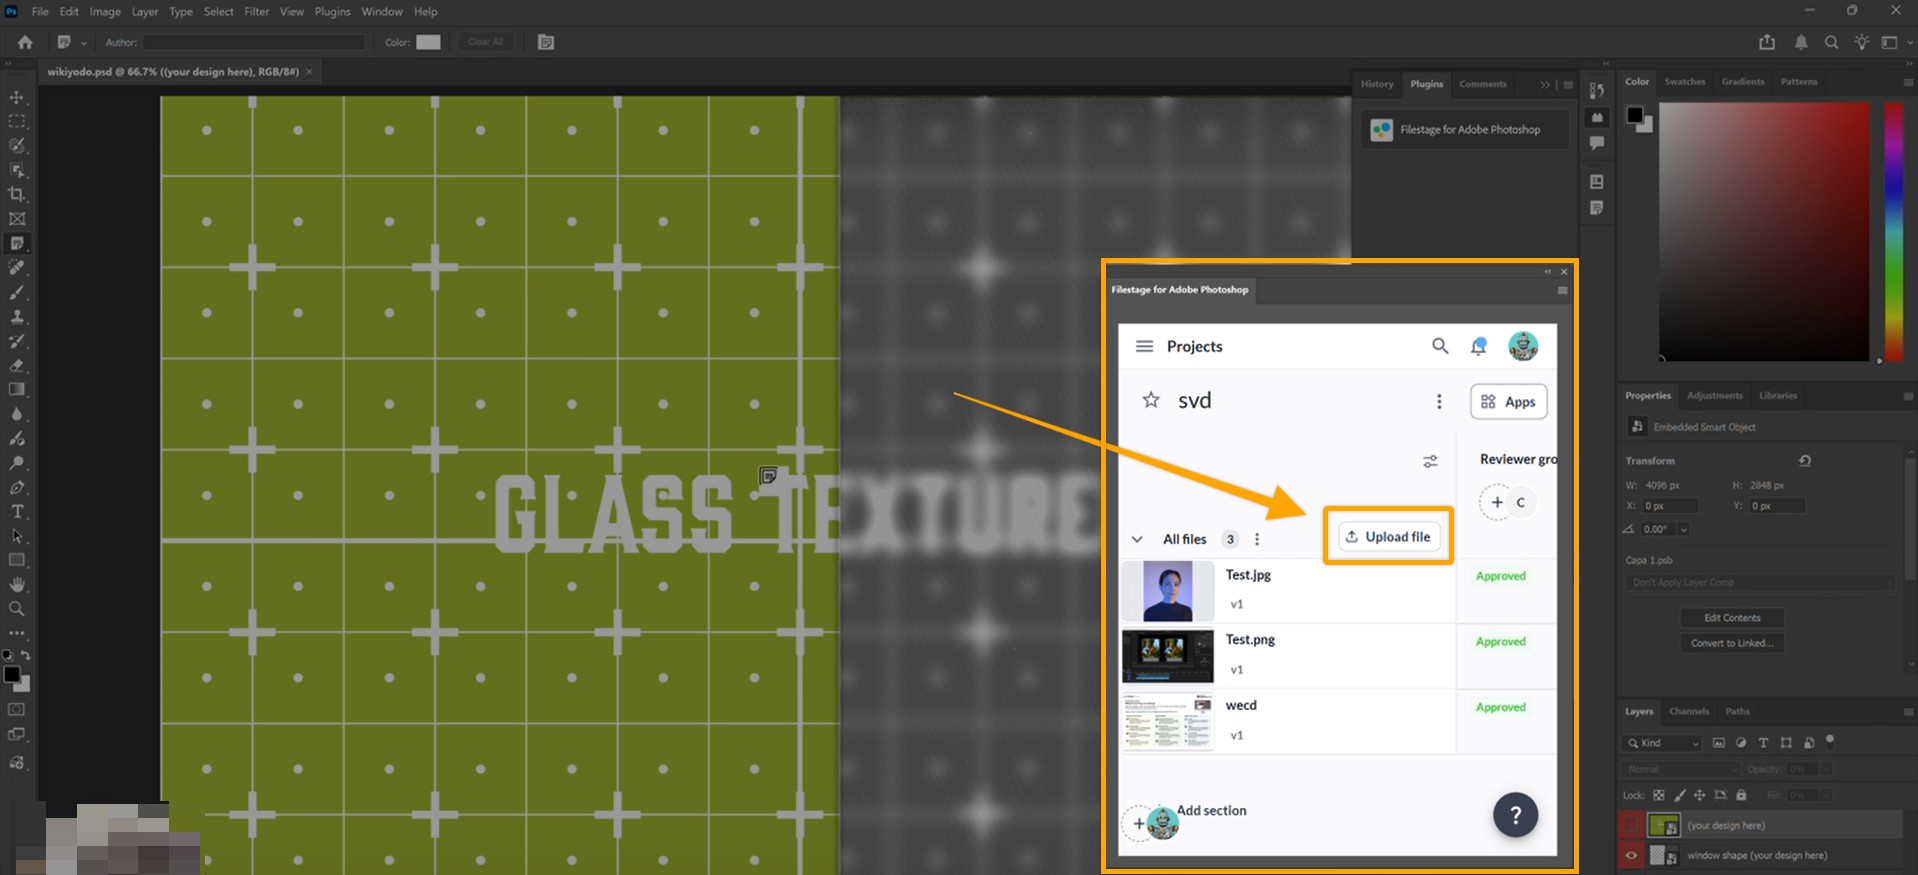
The following steps will indicate to you, step by step, how the Adobe Photoshop plugin works.
|
|
In the file you are working on in Photoshop, Filestage comments will be displayed as Notes.
As soon as a reviewer adds a comment in Filestage, it will appear as a note in your Photoshop viewer.
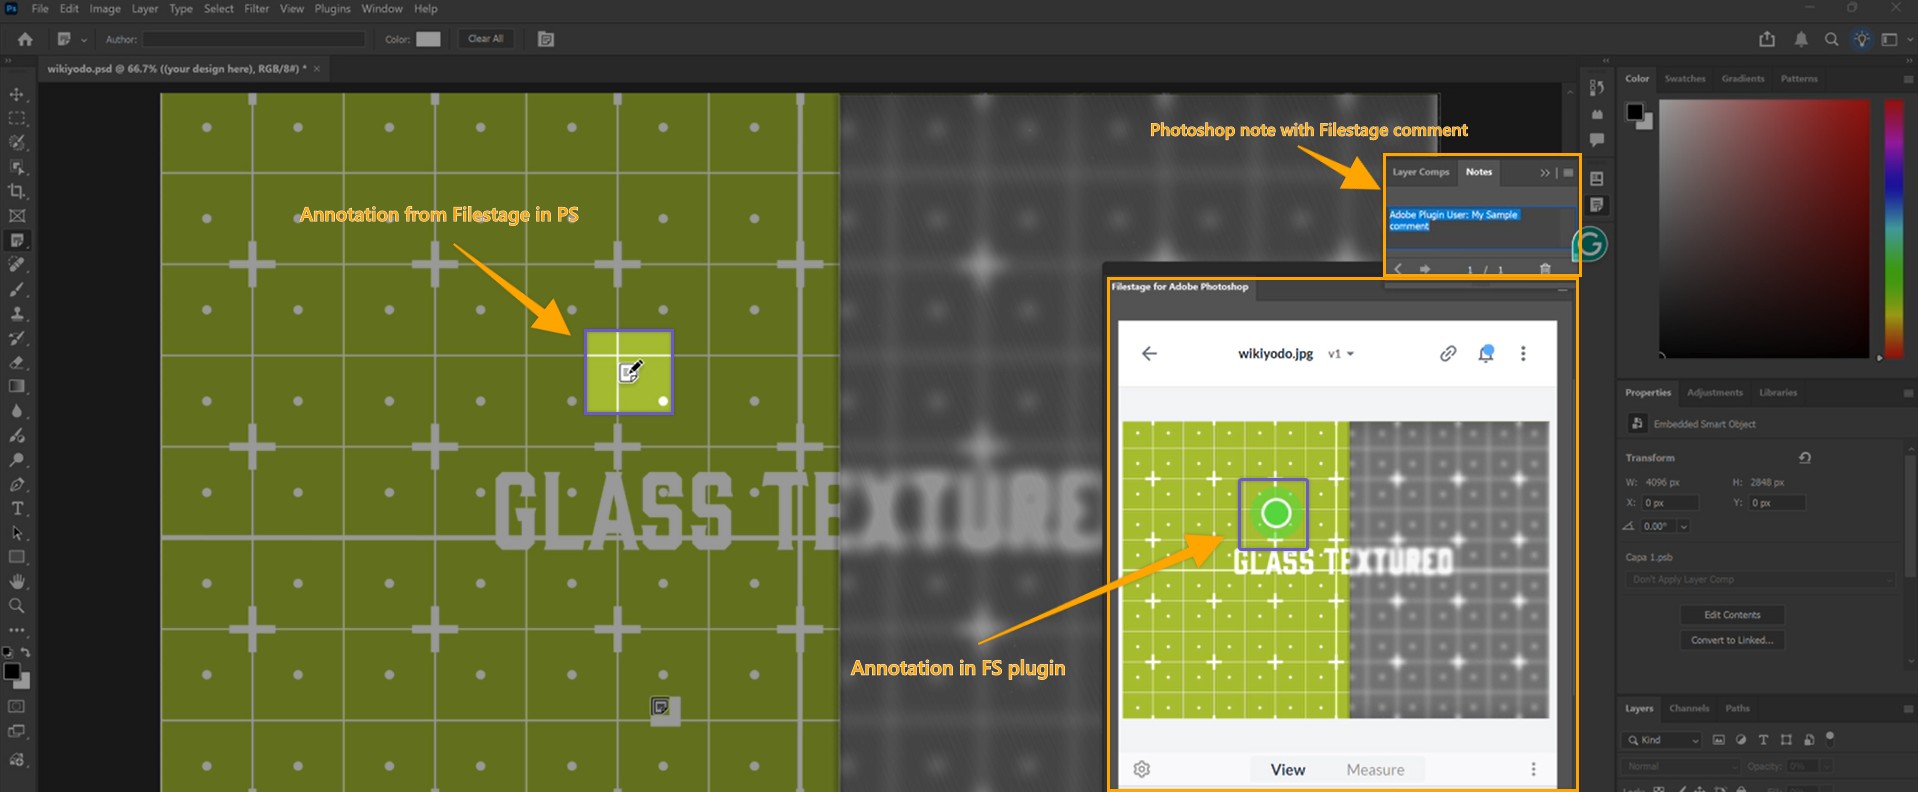
Click the note icon to read the feedback and see exactly where it was placed.
💡 What's next?
Once you've mastered the Photoshop plugin, check out how to Integrate Filestage with Adobe Premiere Pro or Adobe InDesign!
Let us know if you have any questions by reaching out to us on chat or emailing us at [email protected]. We're always happy to help!