With the Filestage plugin for Adobe InDesign, you can import your designs directly from InDesign to Filestage, initiating the review process without manual steps.
Furthermore, the feedback received on the designs can be reviewed directly within InDesign, eliminating the need to switch between tools.

Please note: To use this plugin, you need an Adobe Creative Cloud subscription and an installed version of Adobe InDesign.
Get the Filestage plugin for InDesign
Locate the plugin in Adobe Creative Cloud Install the plugin
|
Activate the plugin for your project
Activate the plugin inside your InDesign project Open the desired InDesign project you want to integrate with Filestage. Click on Windows in the top bar and go to Extensions in the dropdown menu. Now select Filestage. 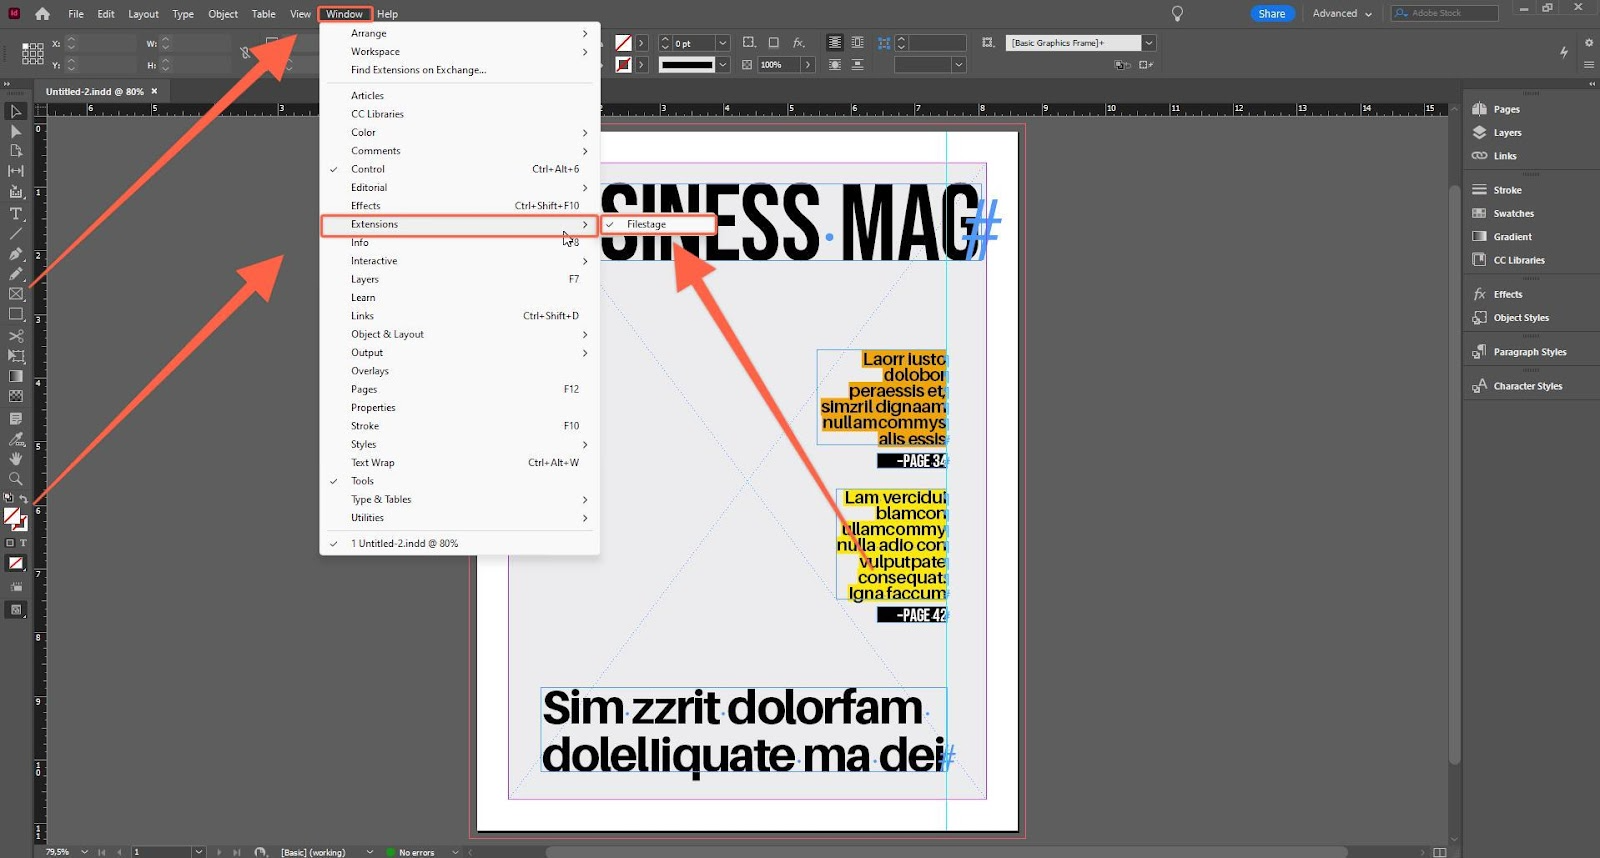 You will now see the Filestage plugin window in your project. To disable the plugin again, you need to go through the previous steps again and click on the Filestage extension.
Log in to your Filestage account
|

💡 Pro-Tip: Add Filestage directly to the workspace bar (menu) in InDesign, providing an even smoother access to the plugin functionalities.
For more details on how to set it up, click here: InDesign Workspace basics
Uploading designs to Filestage
Select the project in Filestage to which you want to upload your designs Upload the designs Click Upload file in the selected project. 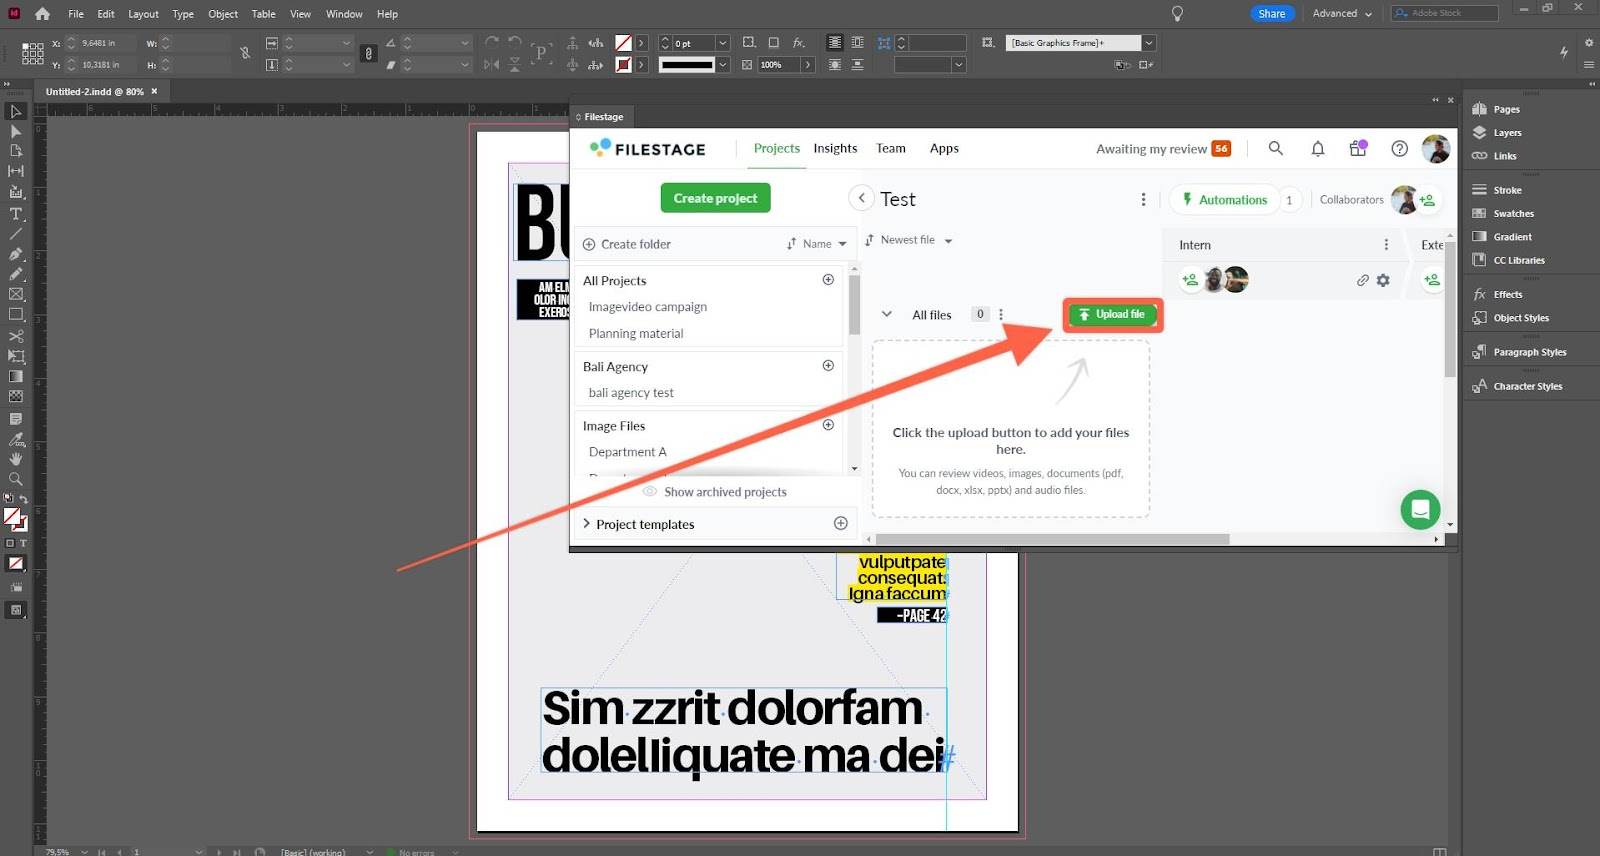 Optional:
Filestage uses the file name set for the project. You can change the name if needed in the upload window. Select the file format that should be uploaded. You can choose between jpg., png. or pdf. After doing your selection click on the upload button. 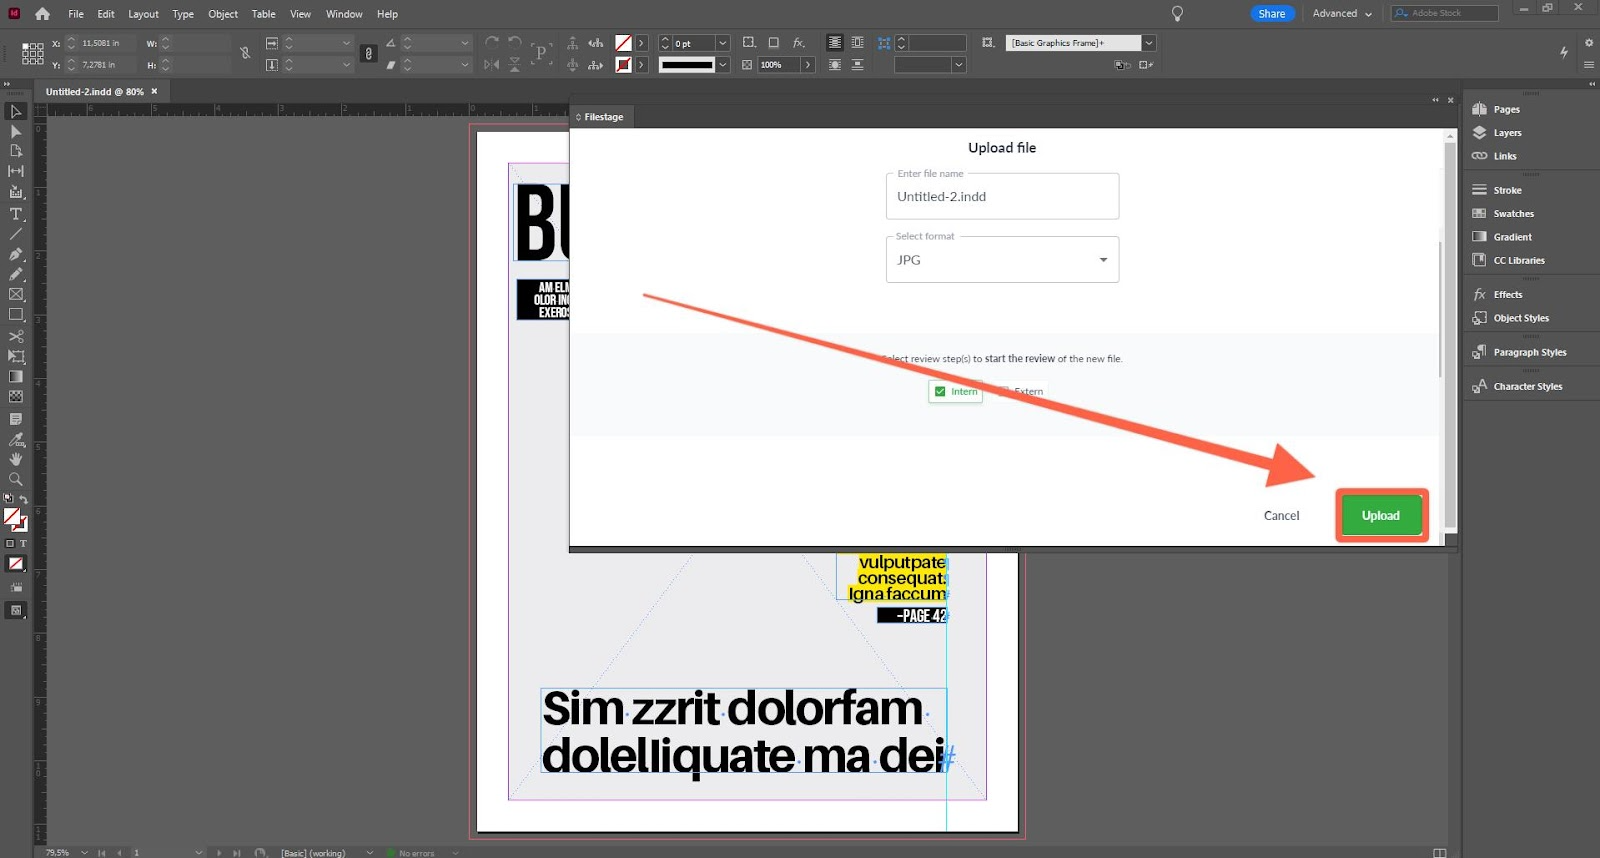 The design is now uploaded to your selected project and can be reviewed.
|
Viewing and interacting with comments
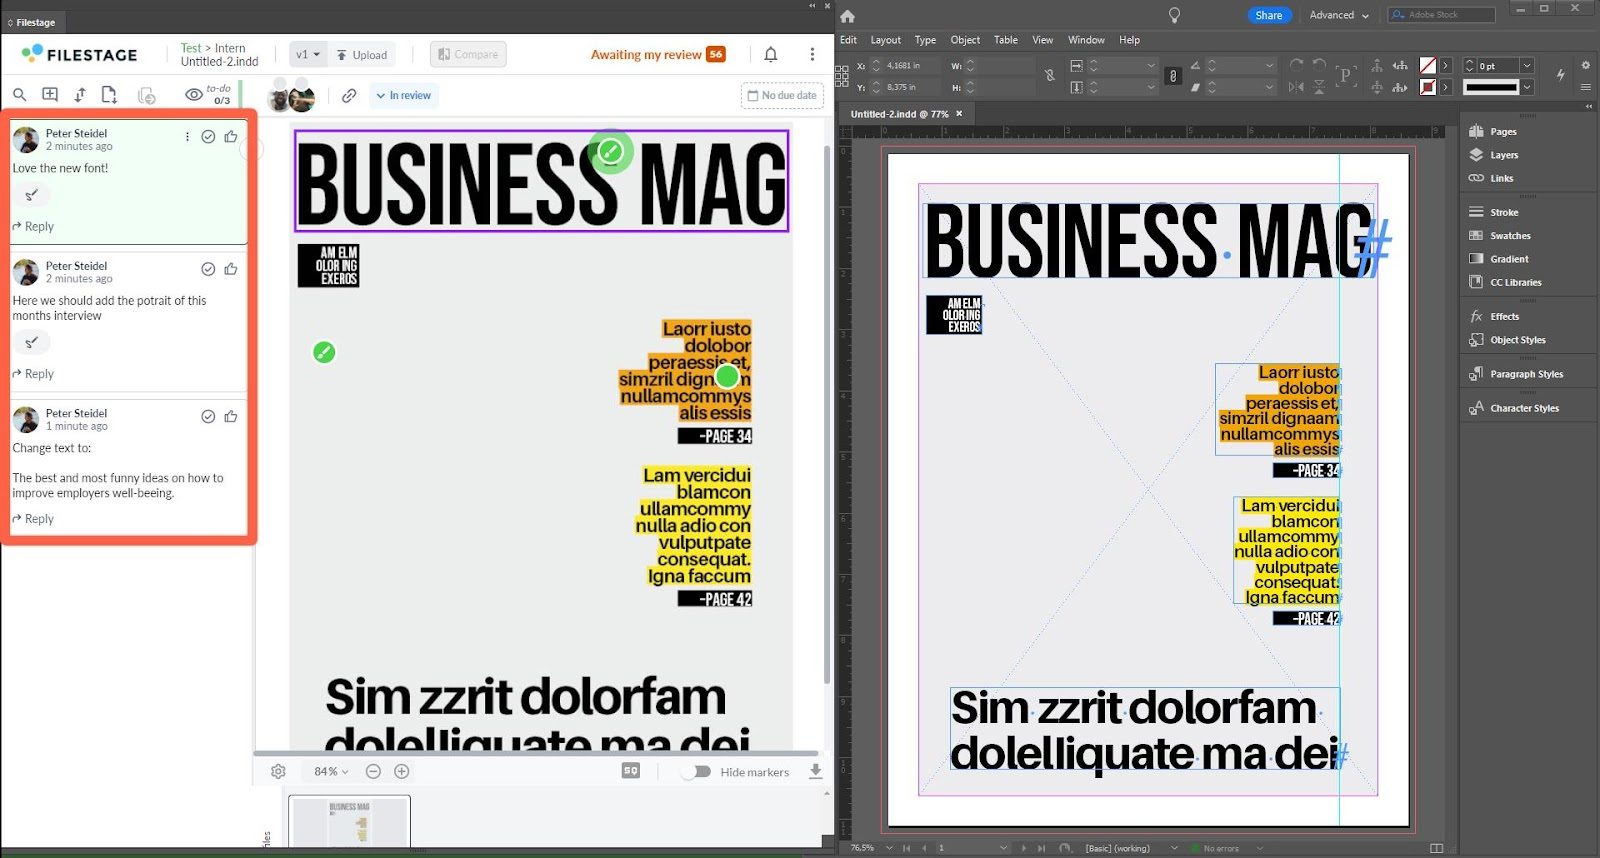
Once your reviewers leave feedback, all comments and annotations automatically sync directly to your InDesign workspace across two areas:
InDesign’s native notes view: Perfect for quickly viewing comments directly on your layout.
The Filestage extension panel: Used to view, reply to, and resolve feedback threads
This dual sync lets you track and act on feedback instantly without ever switching tools.

Please note: The plugin synchronizes comments from Filestage to Filestage InDesign-Plugin. Any changes made in InDesign will not affect the uploaded designs in Filestage.
💡 What's next? Once you're done uploading a design, see how to Manage different versions of a file.
Let us know if you have any questions by reaching out to us on chat or emailing us [email protected]! We're always happy to help!