In today's fast-paced digital world, efficient collaboration and secure file approvals are essential for businesses of all sizes. To comply with the most common regulations in terms of compliance, Filestage users can now use verified approvals to secure their review process which are compliant with FDA 21, CFR Part 11 and EU Annex 11.
If you're a collaborator or project manager looking to implement verified approvals for added security and efficiency, follow these simple steps:
Navigate to the desired reviewer group and toggle the reviewer group settings.
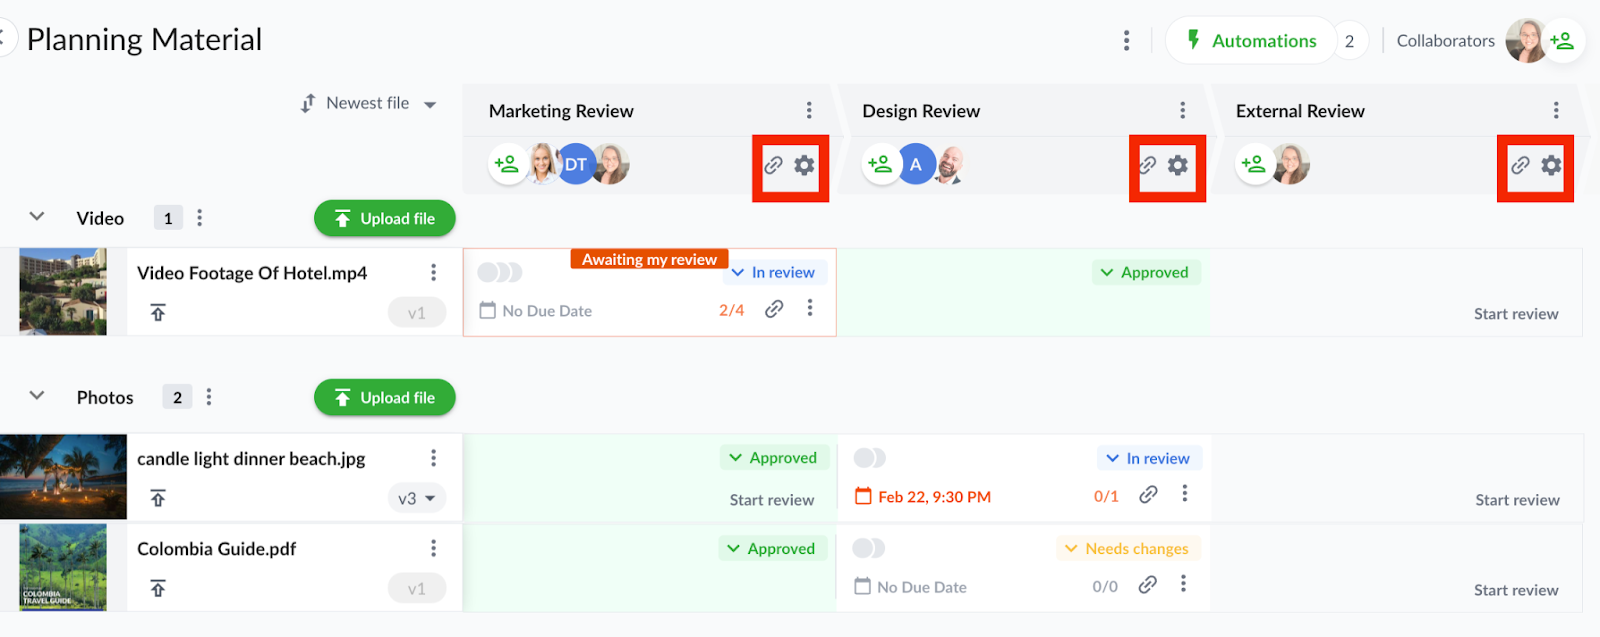
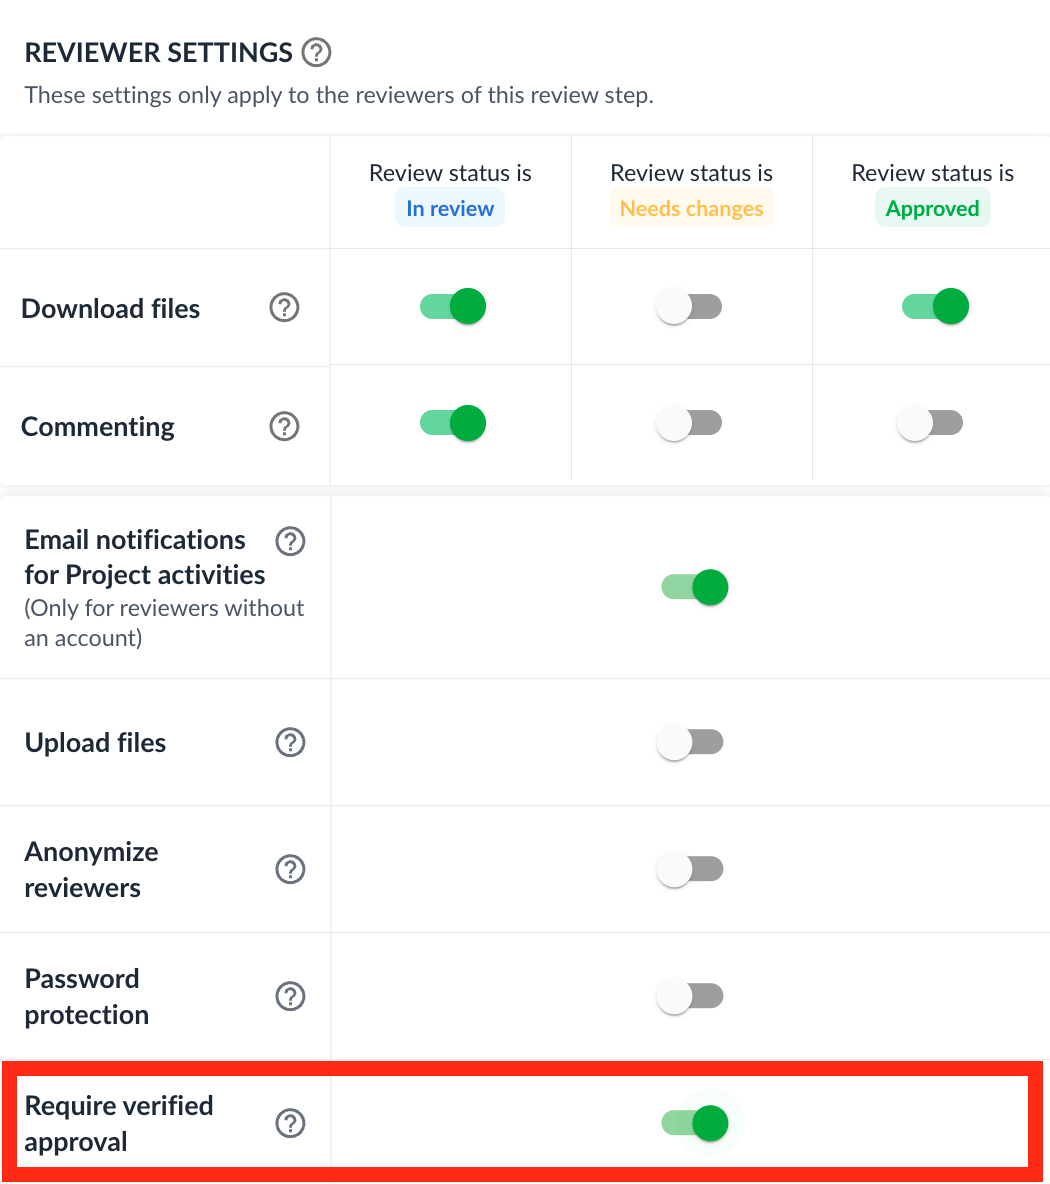
Within the reviewer group settings, toggle on the "Required verified approvals" option. You can also set this setting in project templates, eliminating the need to add it manually each time.
After enabling verified approvals, keep track of the review decisions to see which reviewers have provided verified approvals. When a reviewer leaves a verified approval, there will be a pen icon beside their approval. Remember, this feature requires every reviewer in the step to leave a verified approval and confirm using the one-time password.

Reviewers play a vital role in the approval process. Here's how reviewers can leave a verified approval:
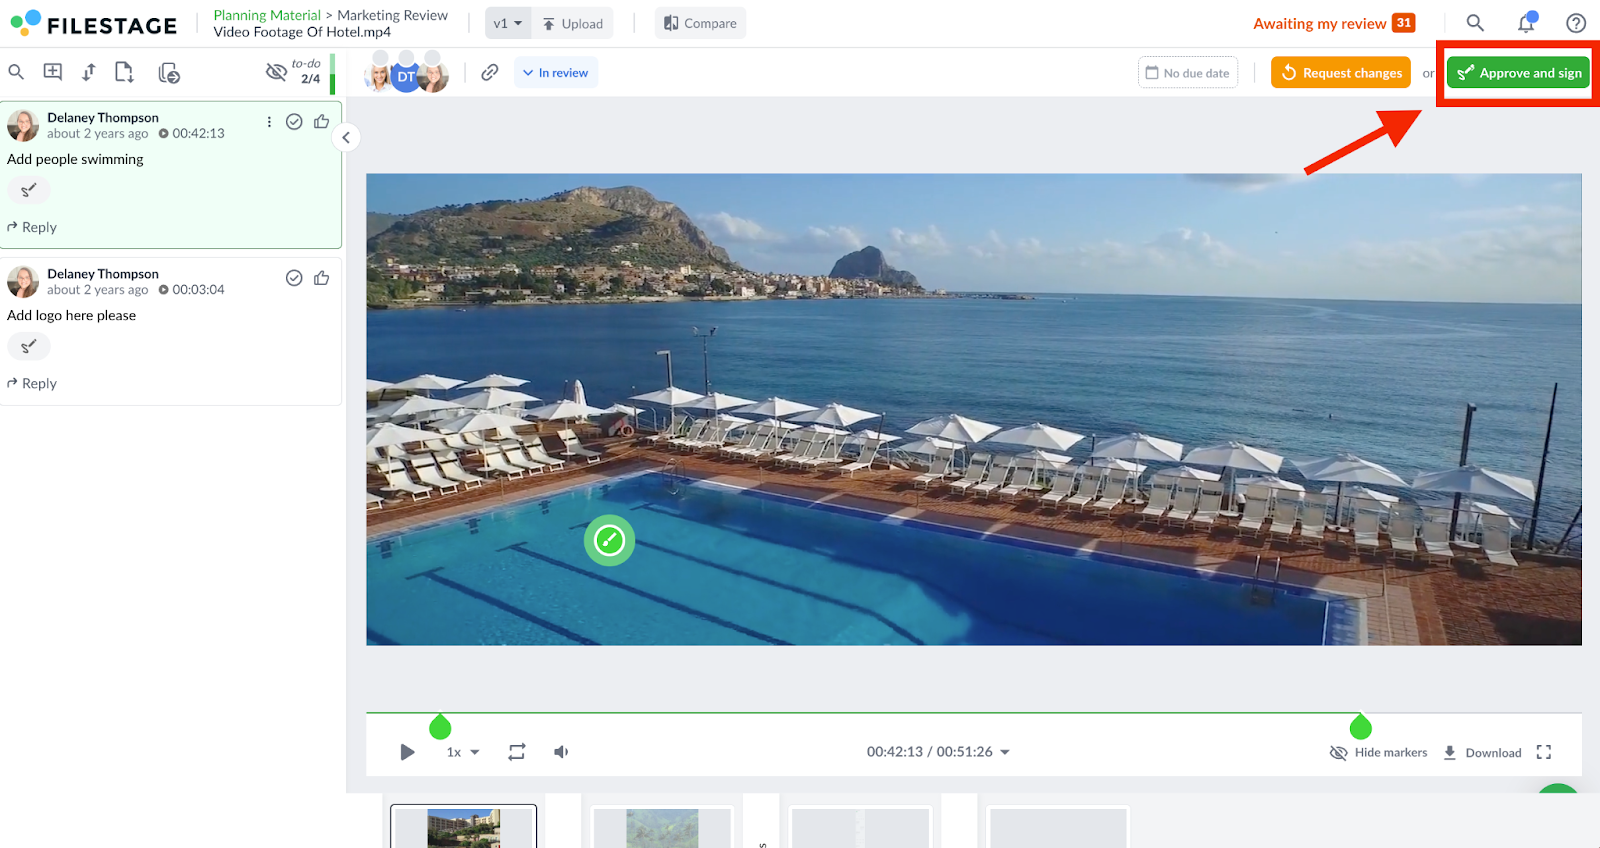
When reviewing a file, click the "Approve and Sign" button located at the top right-hand corner of the file viewer.
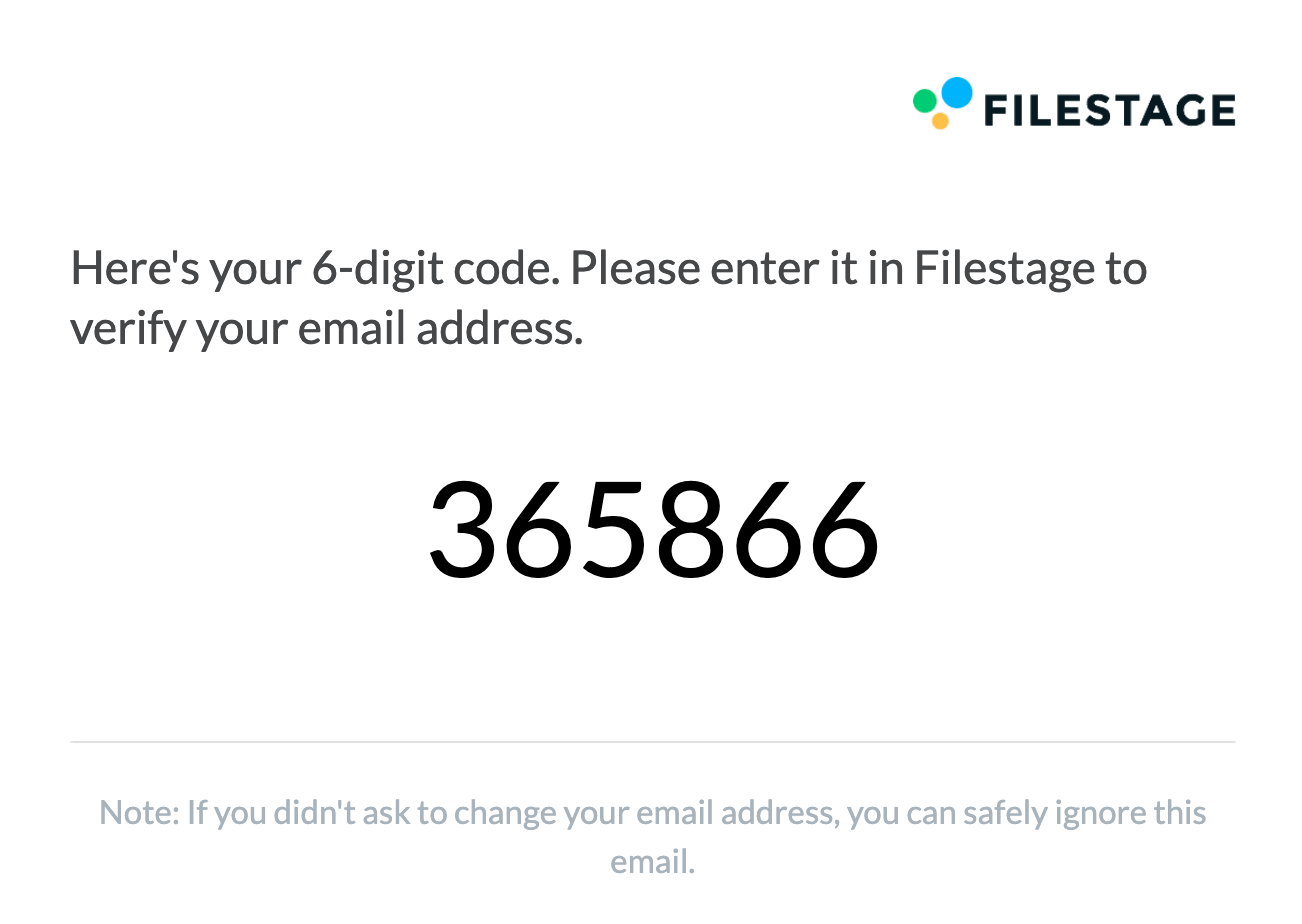
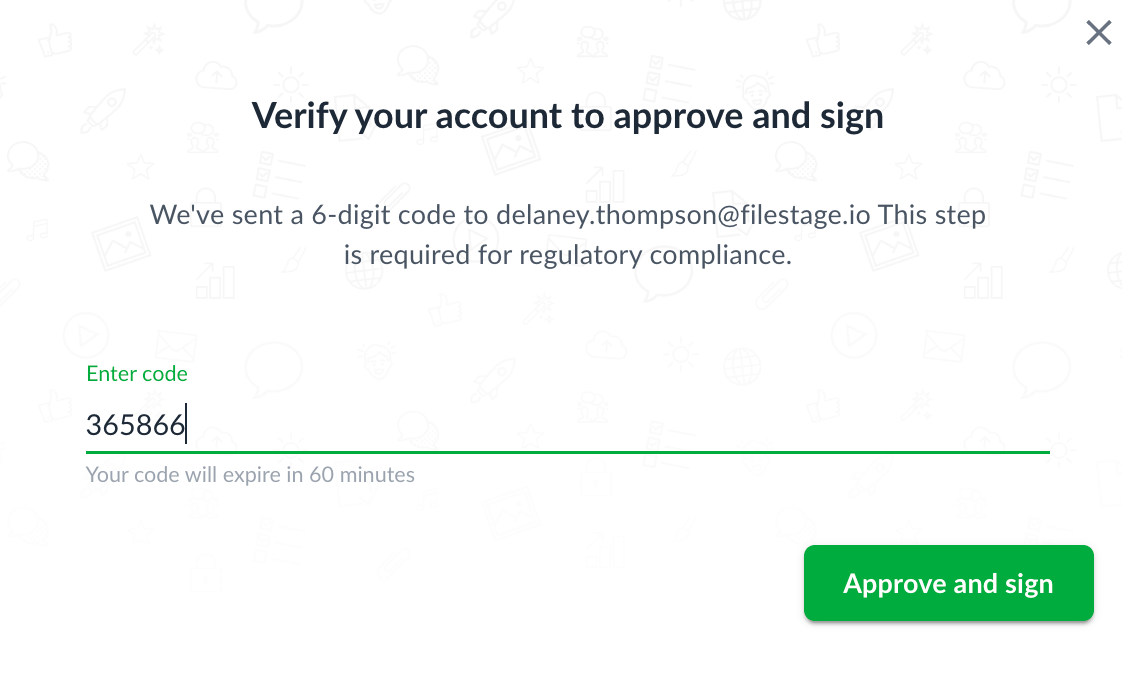
To complete the approval, you'll receive a one-time password via email. Enter the 6-digit code provided in the email to verify your account and sign the file. This verification step is necessary to meet regulatory compliance and ensure the security of the review process. The code is valid for 60 minutes to give you ample time to complete the process.
Let us know if you have any questions by reaching out to us on chat or emailing us at support@filestage.io We're always happy
to help!