Zapier is a no-code automation tool that allows you to connect Filestage with over 7,000 apps, including popular tools like Trello, Slack, Asana, and ClickUp. By automating the connection between these apps, you can streamline your workflows and reduce time spent on manual tasks.
Zaps are the automated workflows in Zapier. Each Zap consists of a trigger and one or more actions. The trigger is the event that starts the automation. Actions are tasks performed when a trigger runs.
1 - Accessing Zapier in Filestage
Click the Apps button in the top-left corner.

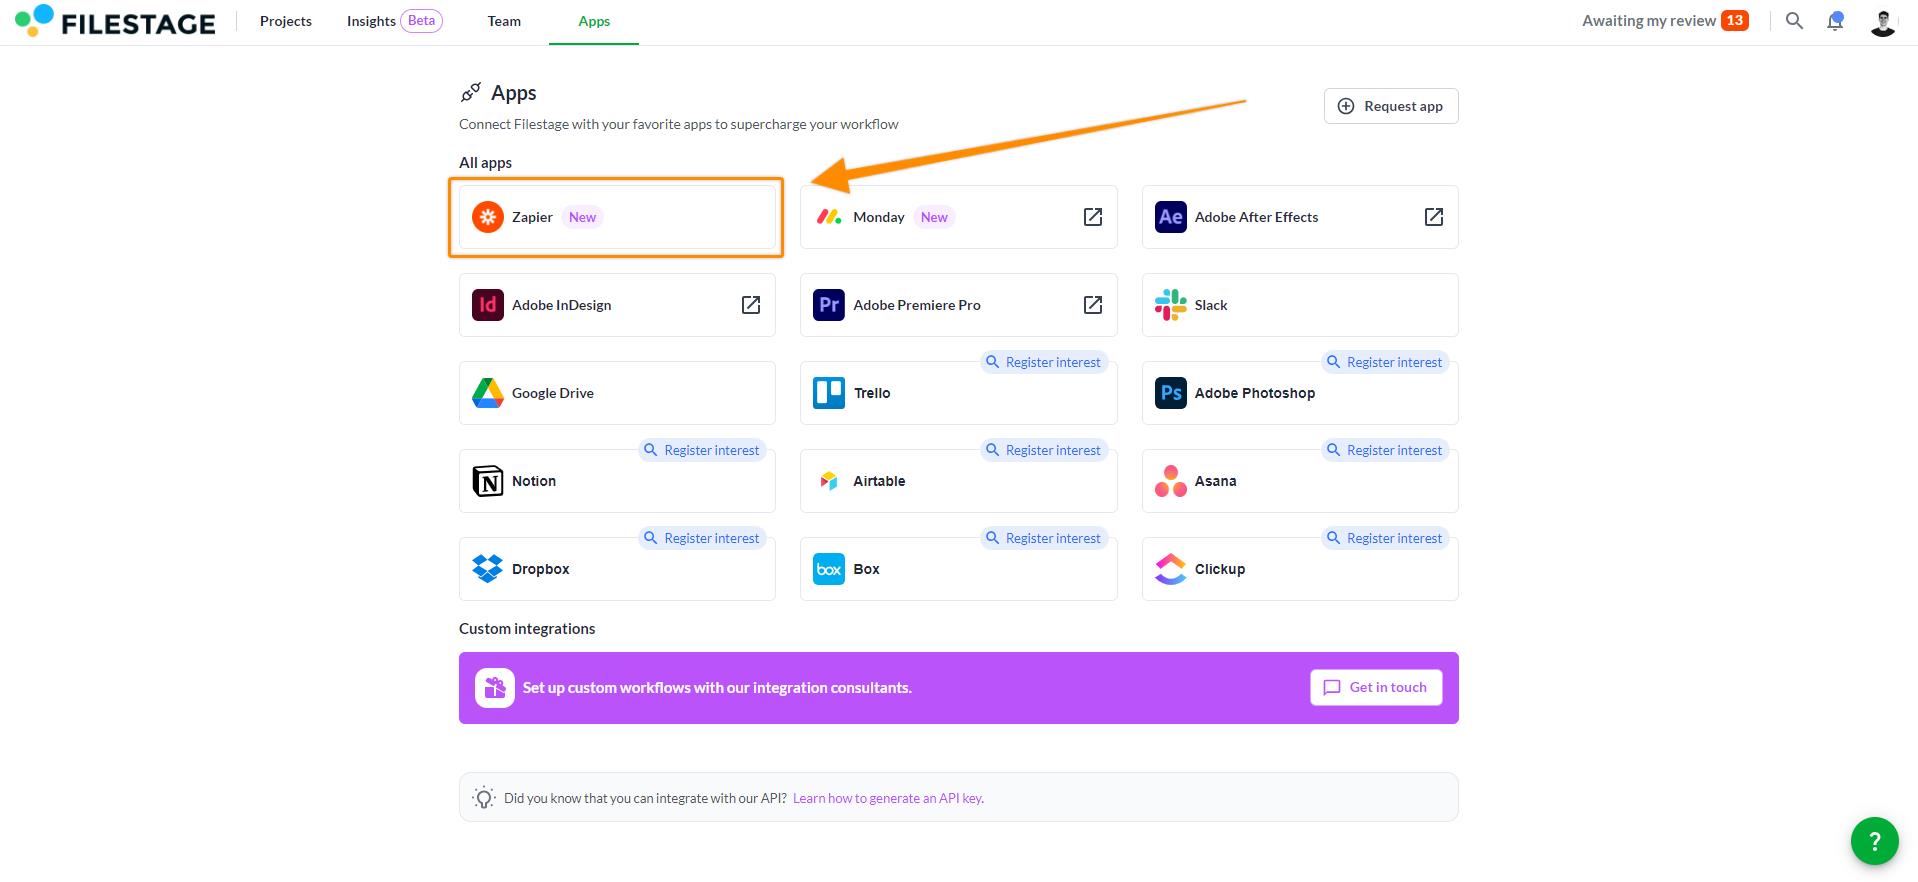
2 - Choose Zapier from the Apps page
From the Apps page menu, select Zapier to be forwarded to the Zapier connection page. Here, you can choose from over 7,000 apps to integrate with Filestage.

3 - Connect Filestage and Zapier and create your first Zap
To establish a new connection, you now have two options:
Create new Zaps from scratch:
A click on '"Open workflows" will open a section where you can see already existing workflows and create new ones.

Create new workflows using templates: Type the name of the app you would like to connect to into the search bar and different templates will be available for you to choose from.

4 - Connecting your apps
You'll be prompted to sign in to your account if you haven't connected it before. Once you've connected your app, select the account you want to use with your Zap.
5 - Customize and test your trigger
Customize your trigger event as needed. Once set up, click "Test trigger" to ensure it works. Zapier will pull existing data from your trigger app to use as a sample.
6 - Customize and test your actions
Customize and test your actions as needed. Zapier breaks down the data from your trigger event into individual pieces that can be used in your action fields. To transfer information from App A to App B, you need to "map" the fields by specifying which data from the trigger app should go to which field in the action app.
7 - Test your zap
Once you've set up your action, click "Test & Review." Zapier will perform the action using the field mappings you've configured to ensure everything works correctly.
💡 What's next? Once you integrate Filestage with another tool, see how you can integrate Filestage with Slack.
If you have any questions or comments, please contact us via our chat or email at support@filestage.io.