In this chapter, we'll cover:
Creating your first project
Uploading files and organizing them into sections
Adding reviewer groups to create an approval workflow
Starting your review process
Go to the projects tab in Filestage, then click “Create project” in the top-left corner.
A box will appear with a few options:
Name – choose a name for your project
Folder – choose the folder where your project should be added
Template – skip this one for now, we’ll talk about project templates in another guide

And just like that, you’ve created your first project. Now it’s time to add some content!
Congratulations, your project is now up and running! With the project dashboard, you can easily organize and manage all your project files in one place.
Filestage supports all the most popular file types, including:
Documents – PDF, DOCX, PPTX
Videos – MOV, MP4, AVI
Images – JPG, PNG, PSD
Audio – MP3, AAC, WAV
Live websites – HTTPS sites
HTML content – ZIP files
Here’s our full list of supported file formats →
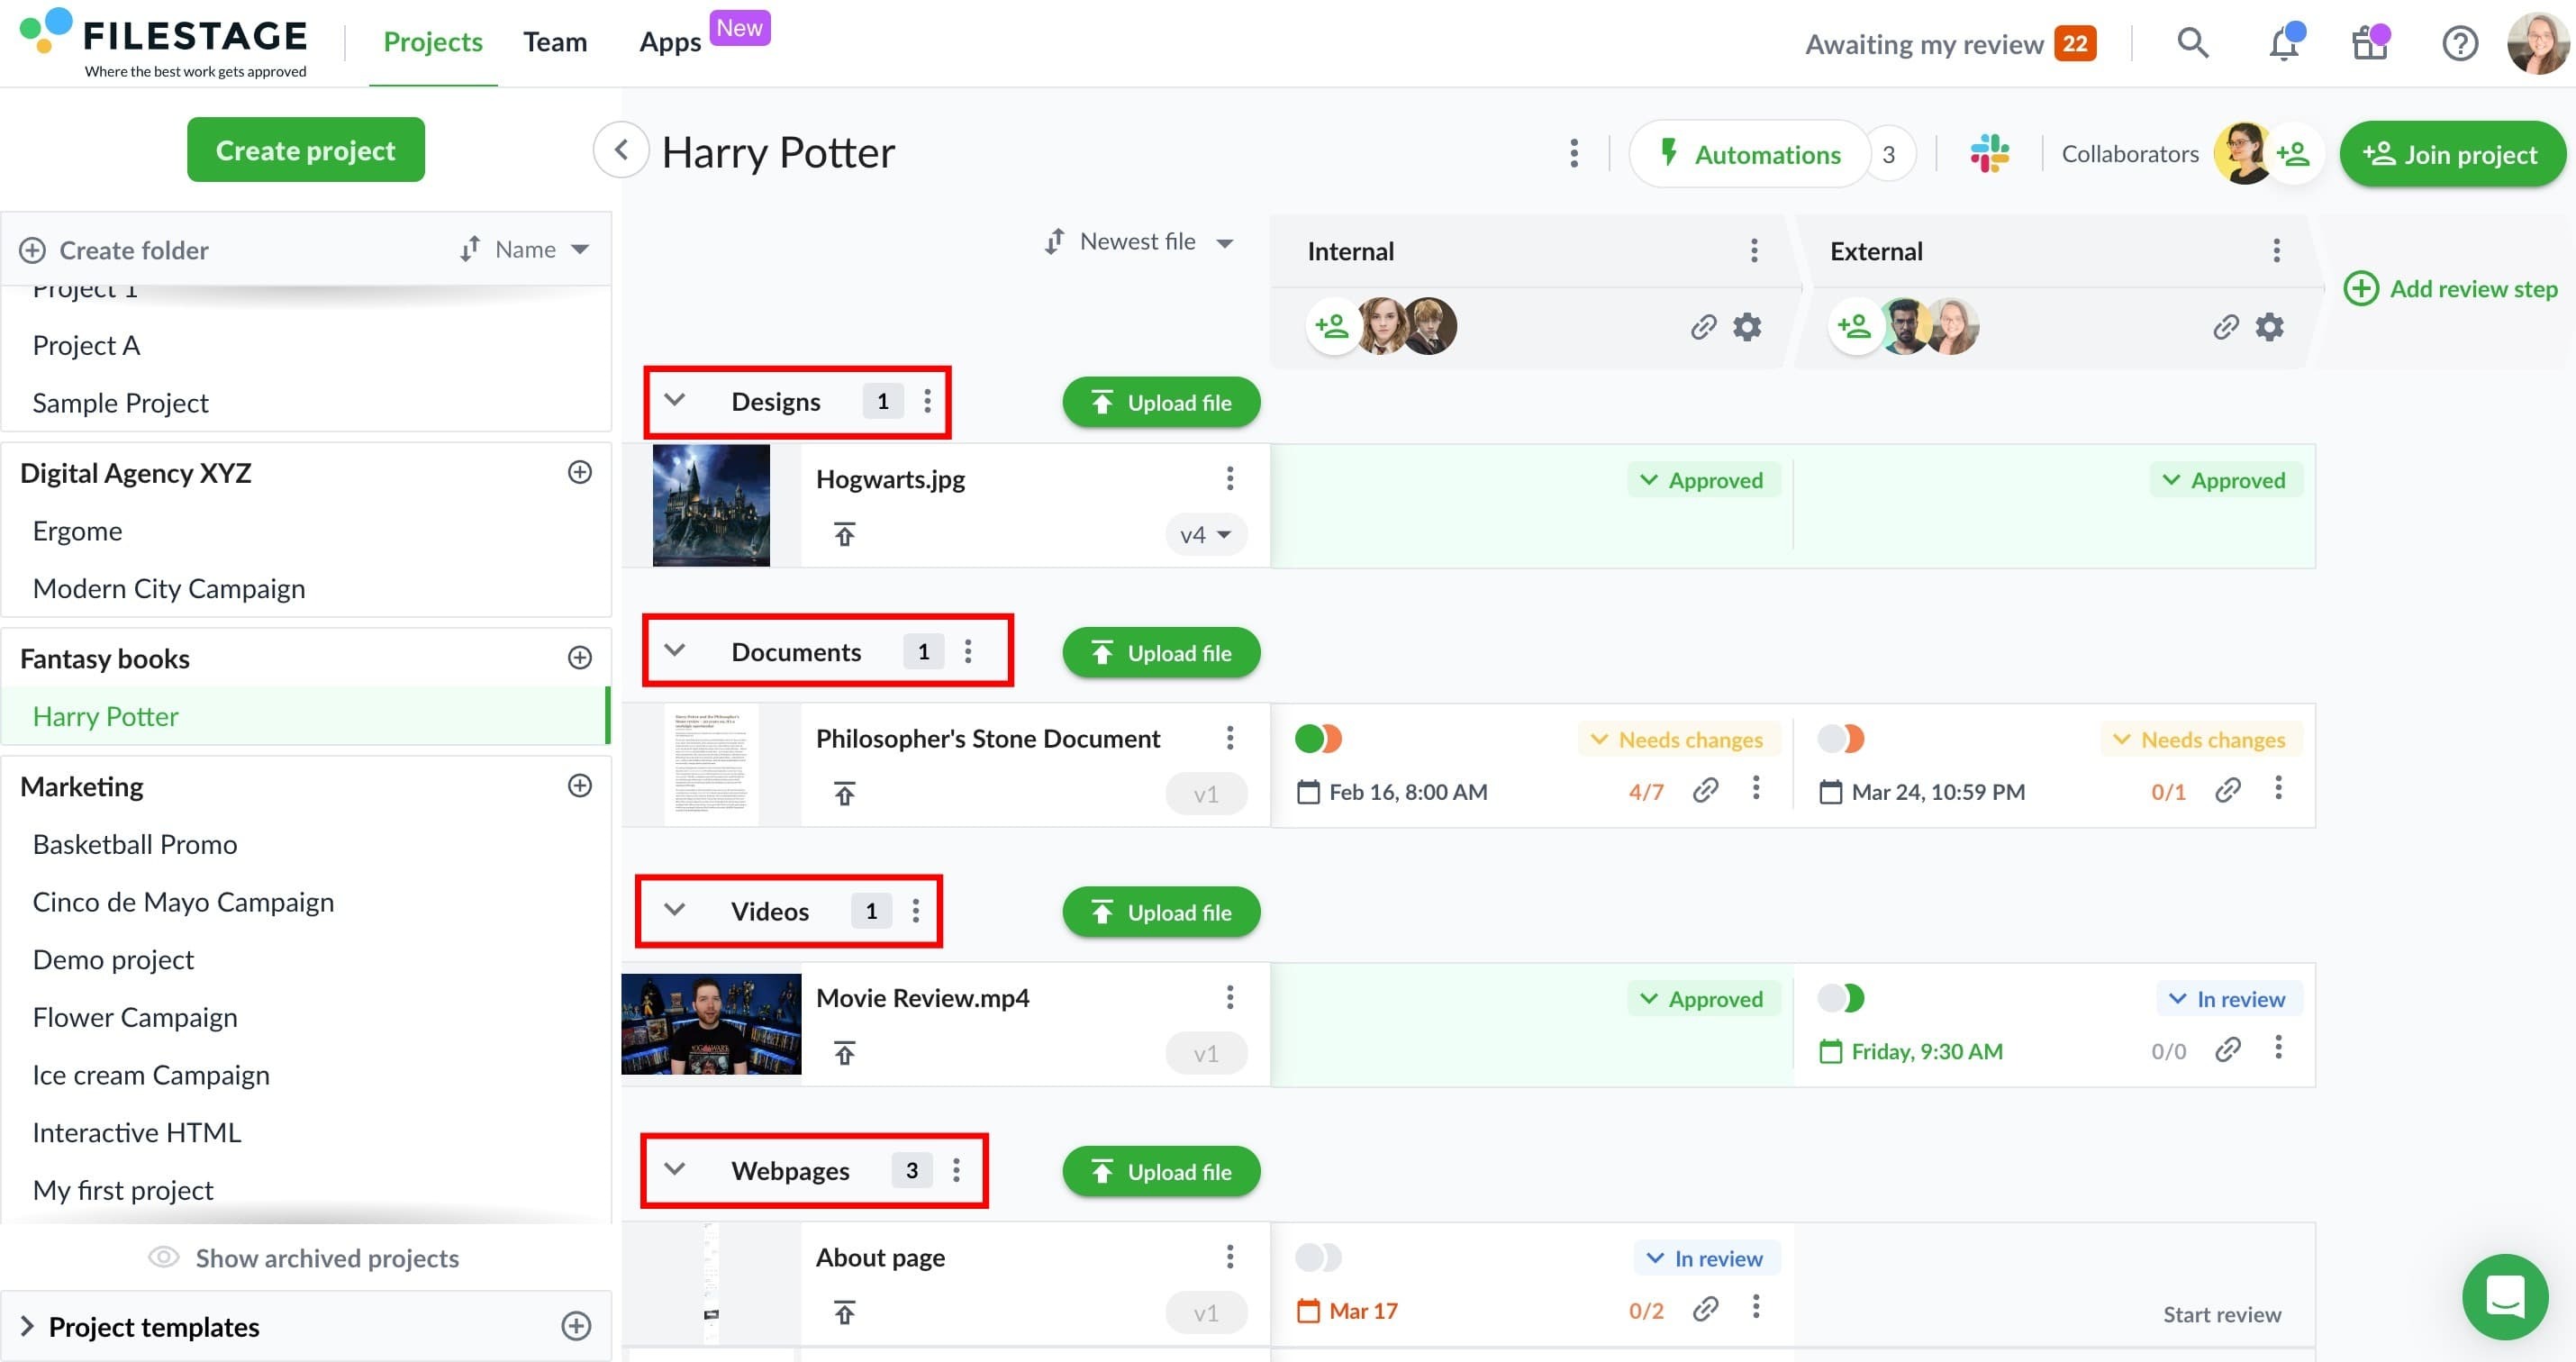
On the right, you can set up a workflow with reviewer groups for each stakeholder group. This gives your team a clear route to approval and project completion. (We’ll dive into reviewer groups in more detail in the next lesson.)
And on the left, you can add your files. There’s absolutely no limit to how many files you can upload to your projects – which is where sections come in.
When you’re working with lots of different files, it can be helpful to organize them into sections. These appear as labels above your files and can be expanded or collapsed to help you focus.
By default, your project will include a section called “All files”. But you can rename this and create new ones to suit your needs.
Here are a few ideas for how you can use sections:
File types – e.g. Videos, Designs, Copy
Marketing channels – e.g. Social, Print, TV
Project stages – e.g. Briefs, Concepts, Assets
Our section limits range from three on our Free plan to unlimited for Enterprise users. And these can be totally customized for each project.
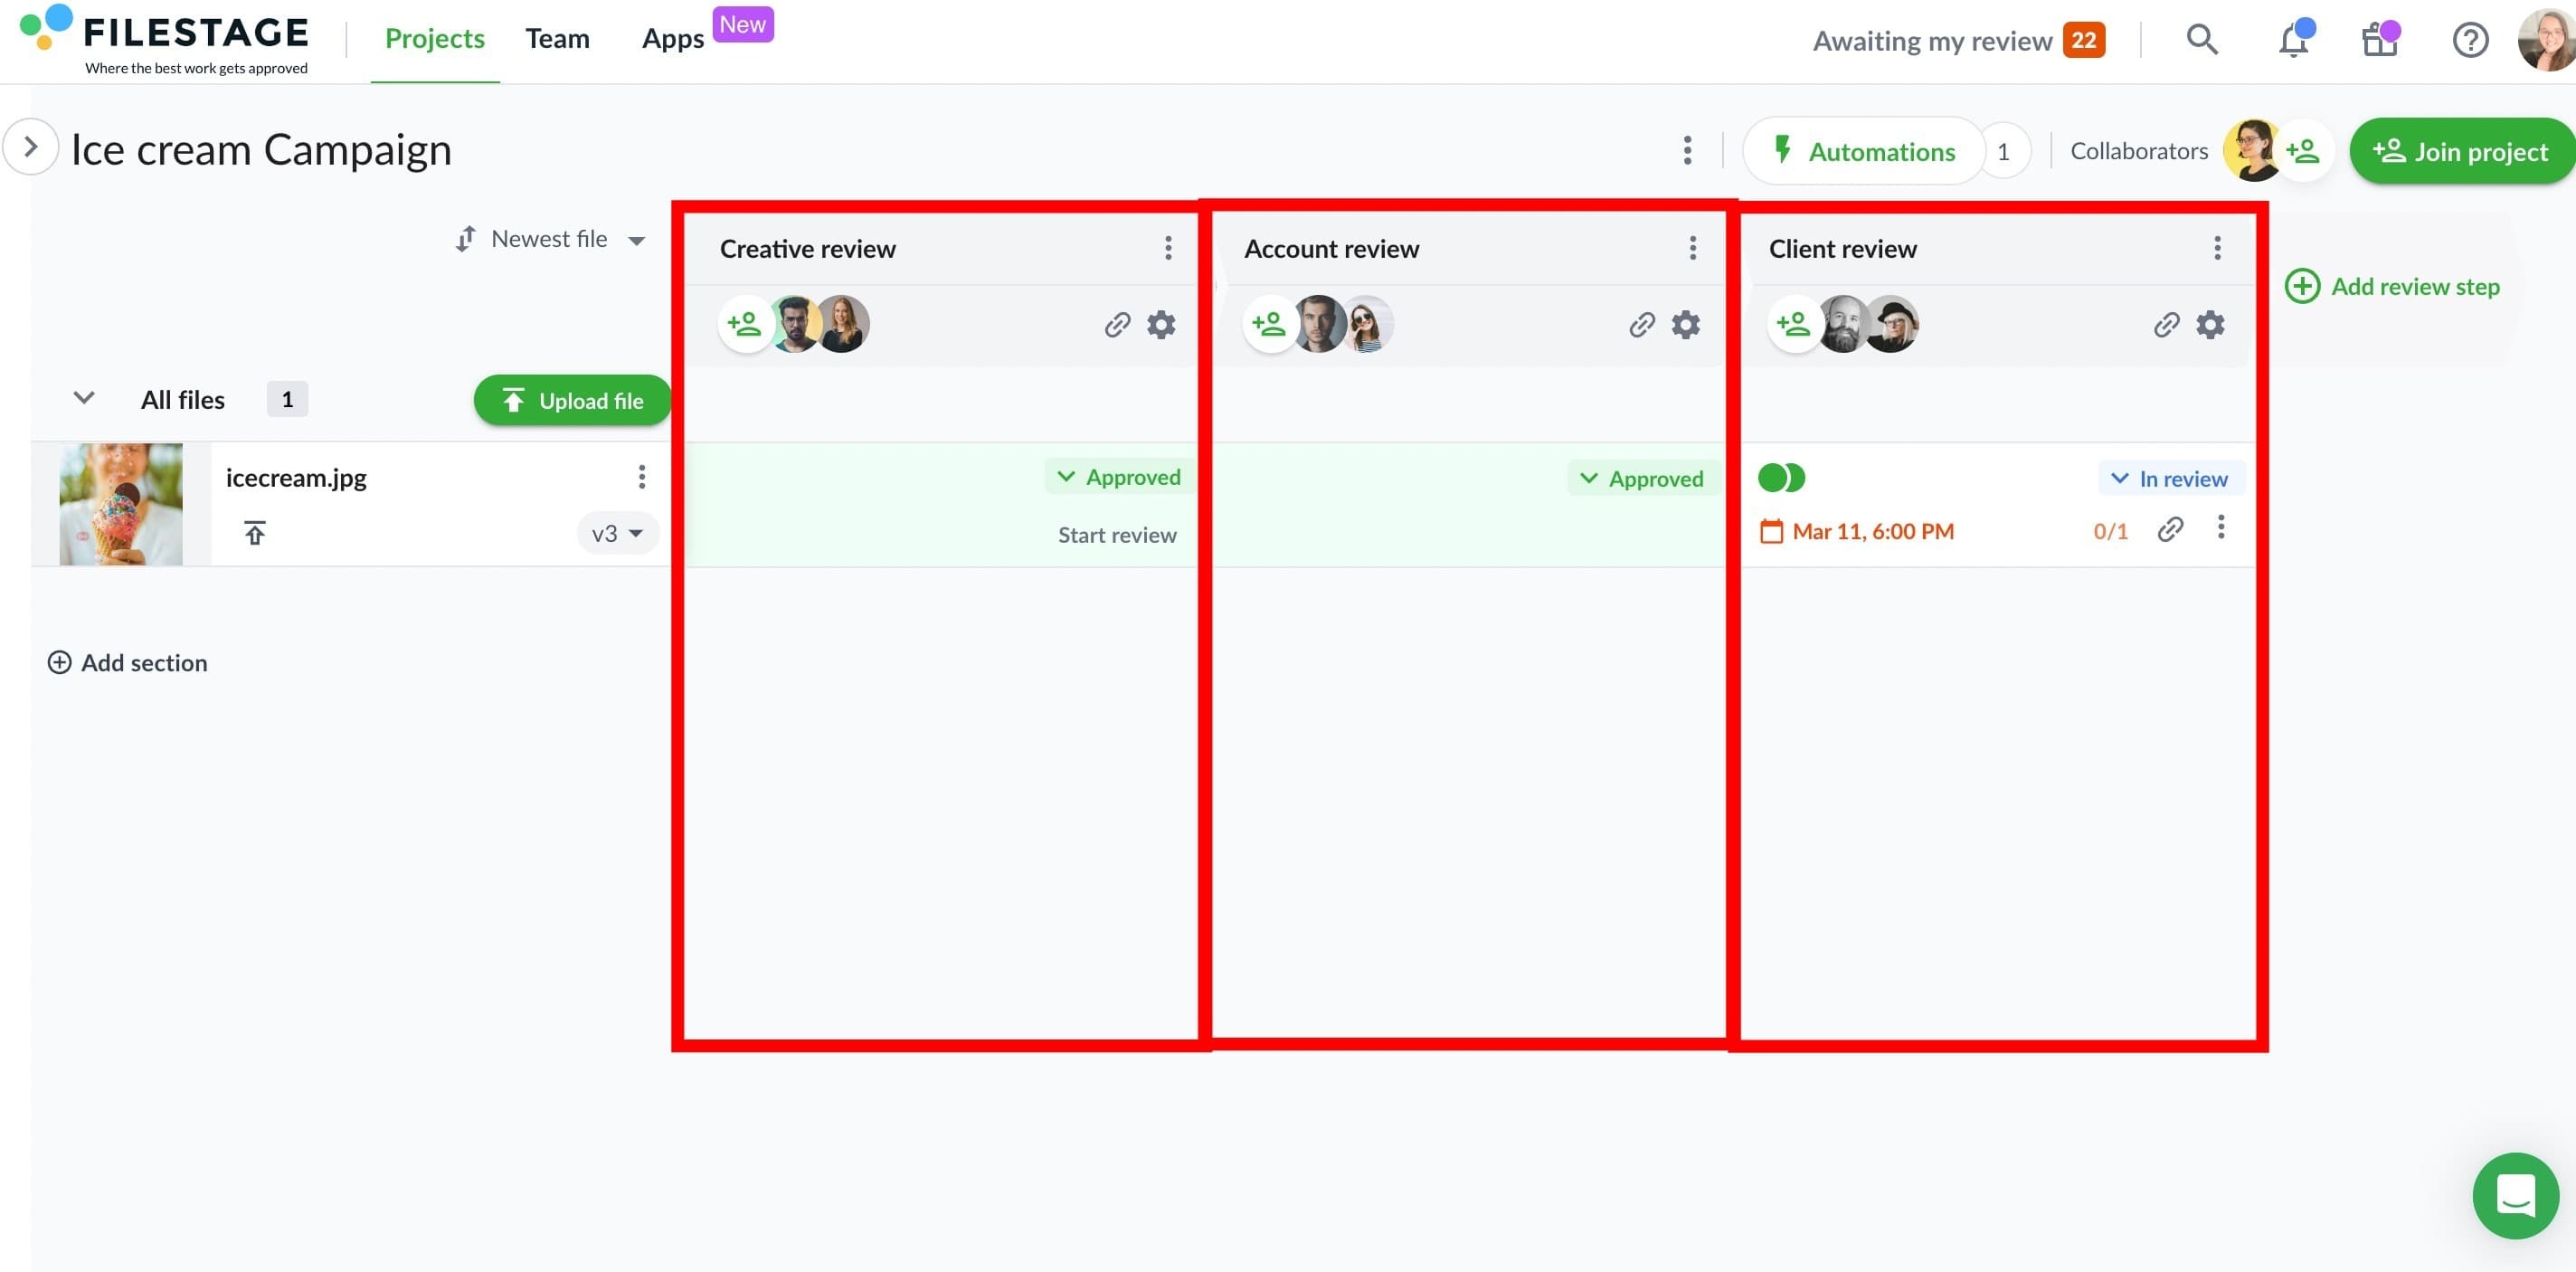
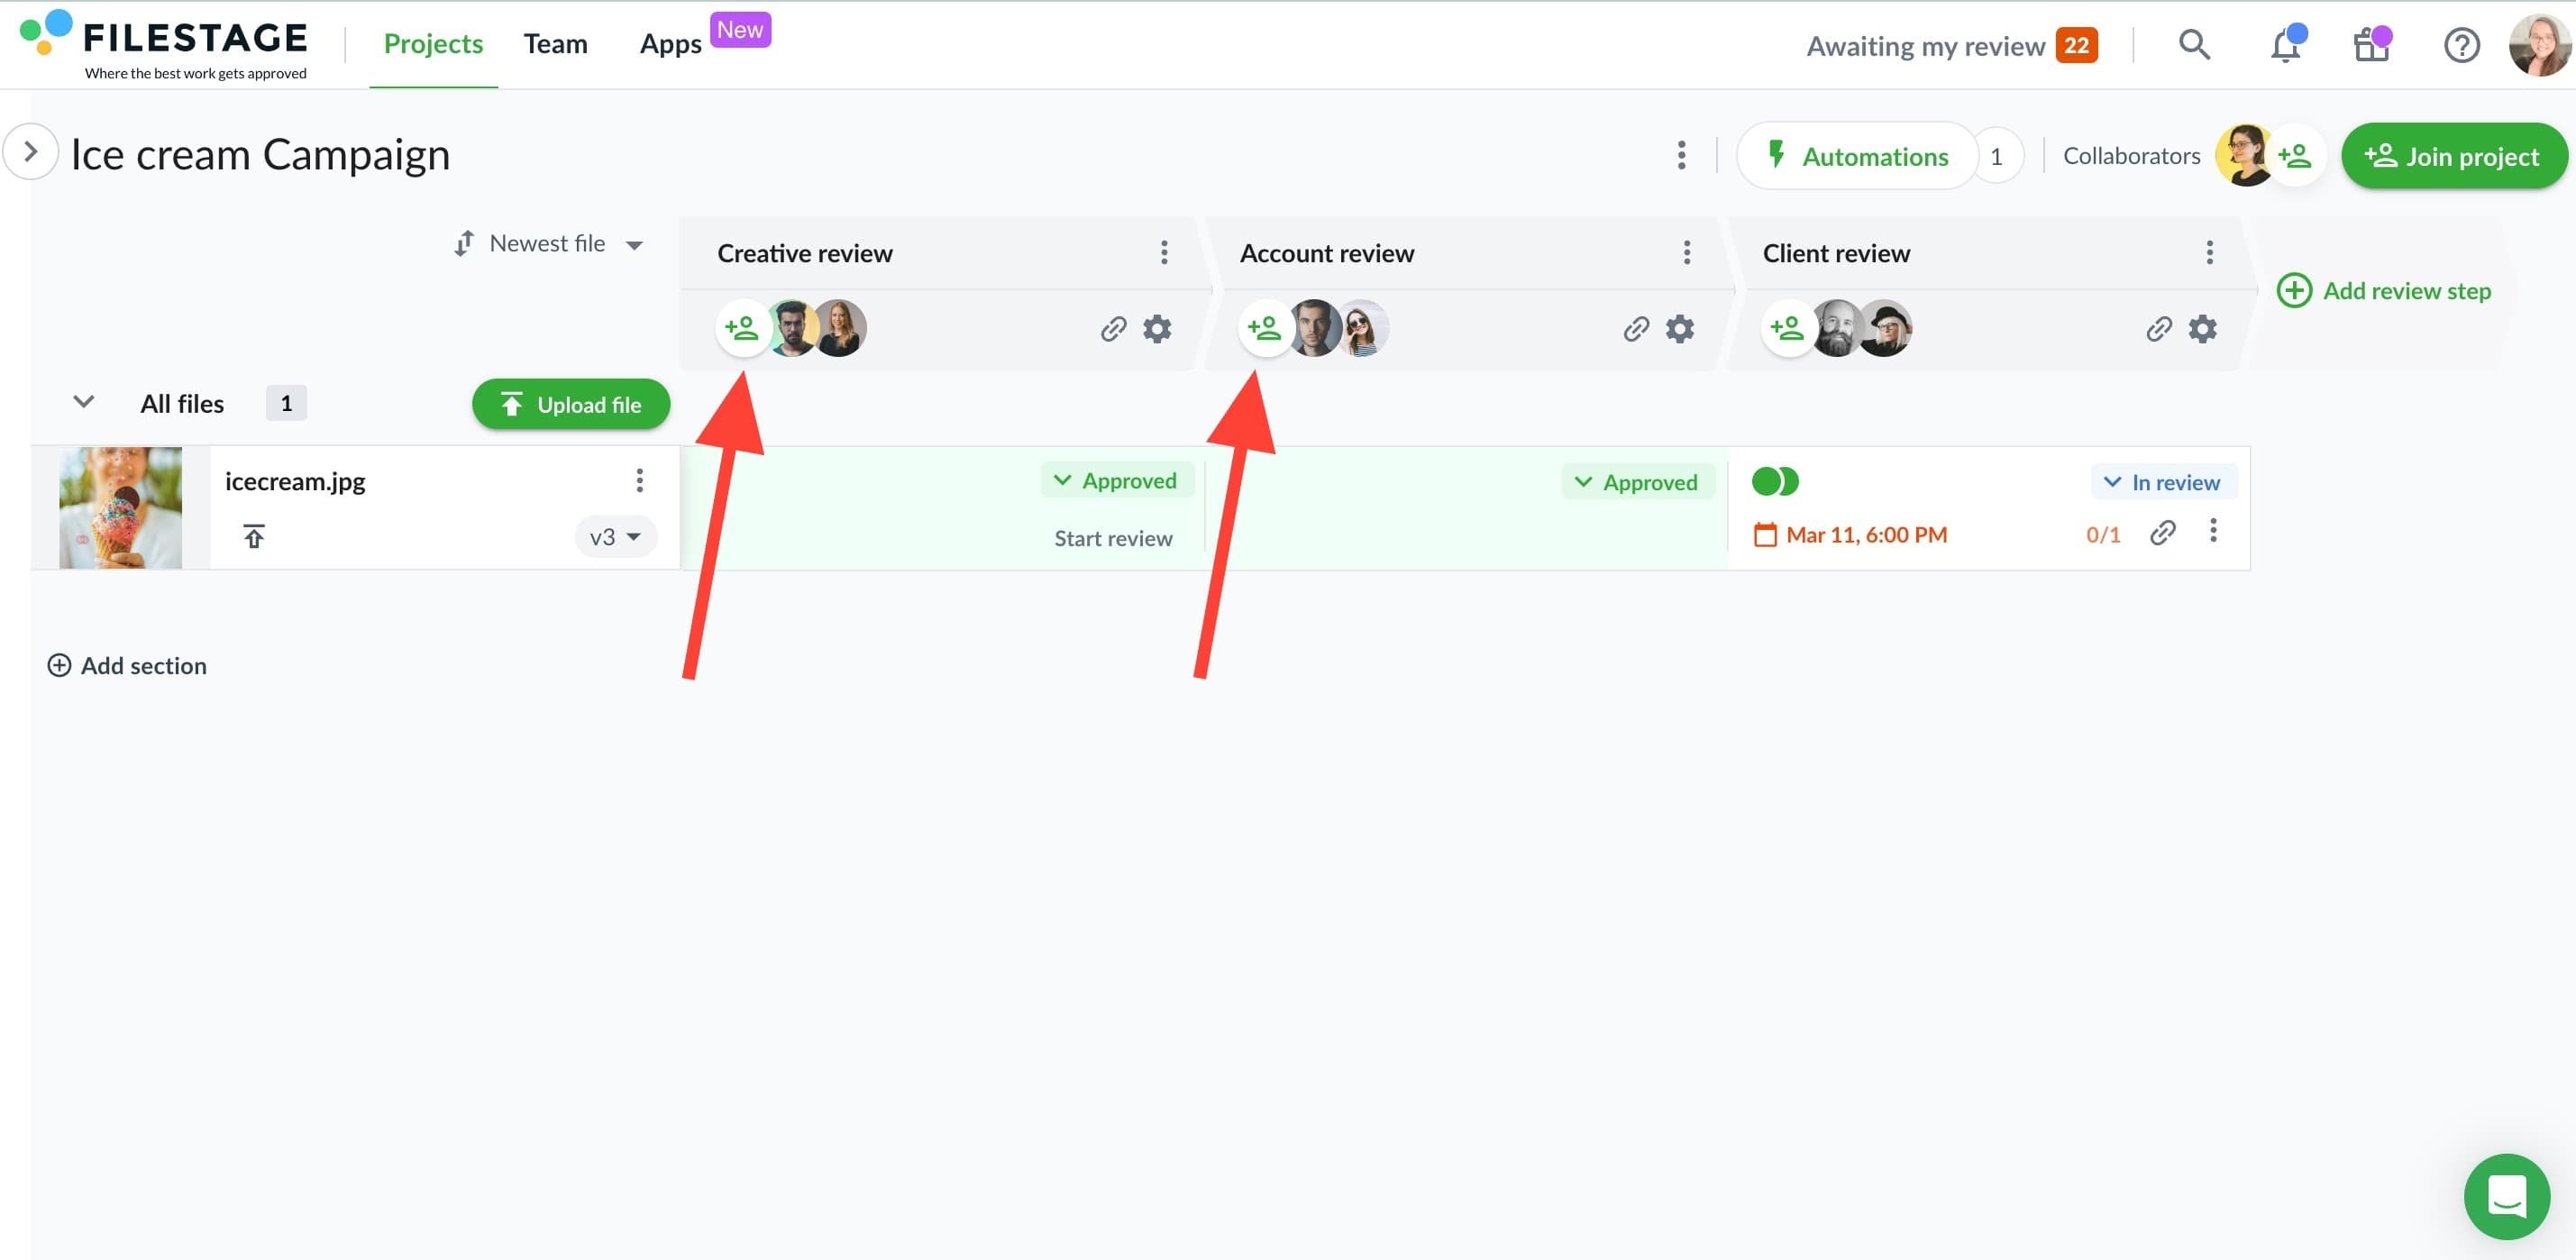
Reviewer groups appear as columns in your project dashboard. Each one represents a different group of stakeholders in your approval workflow.
When you create a project, “Reviewer group 1” will be there by default. You can then rename it and add extra reviewer groups to suit your needs – and these can be different for every project.
It's important to note that reviewers can only access versions and comments within their designated group. Information in other reviewer groups remains invisible to them, ensuring confidentiality and focused feedback. You maintain complete control over which versions are shared with each reviewer group, allowing for a customized and efficient review process.
Here are a few examples for different use cases:
Advertising agency – Internal and External (two steps)
In-house marketing team – Marketing, Brand, Legal (three steps)
Packaging agency – Design, Product, Translation, Compliance (four steps)
The big benefit of reviewer groups is that it keeps feedback organized among different types of stakeholders. So instead of lawyers tripping over creative feedback and vice versa, your workflow runs like a well-oiled machine.
Once you’ve created your reviewer groups, click the “+” icon to invite reviewers to each step. It’s also a good idea to add a personal message, so they know who’s inviting them and why. Then you’re all set to start reviewing your content.
And if you’re feeling confused about the difference between reviewers and collaborators, don’t worry – the next chapter has you covered.
You’ve uploaded your files, organized them into sections, and set up your reviewer groups. Now you’re ready to kick off your review process.
The goal here is to pass your files from one reviewer group to the next, collecting feedback and approval as you go. But you can also run reviewer groups in parallel to make more improvements in less time.
From your project dashboard, you can see everything that’s happening across your reviewer groups at a glance.
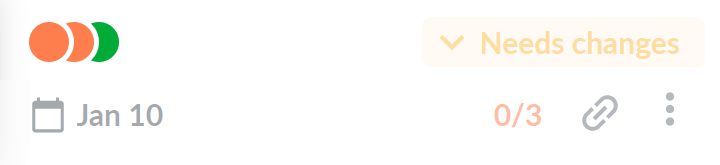
Under each reviewer group, you’ll see status indicators for each of your reviewers. Here’s what they mean:
Green – Approved
Orange – Requested changes
Gray – Awaiting review
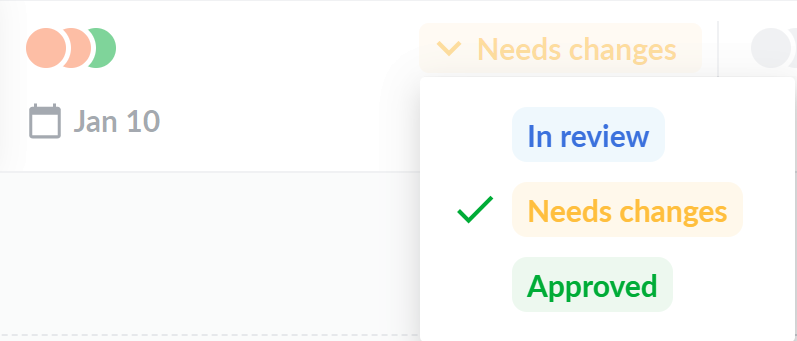
Once you've received feedback from your reviewers, you can manually update the review status using the following options:
In review
Needs changes
Approved
This gives you and your team a high-level overview of what state your files are in, so you can prioritize what you need to work on next.

⏭ Ready to learn about managing team members and reviewers? Head to Chapter 2 →
